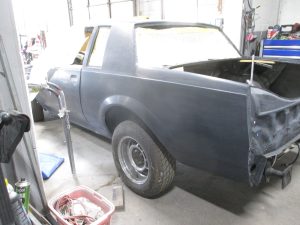
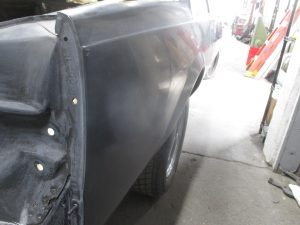
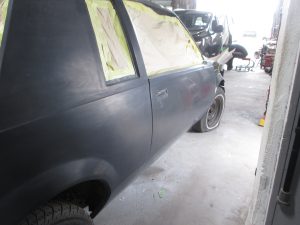
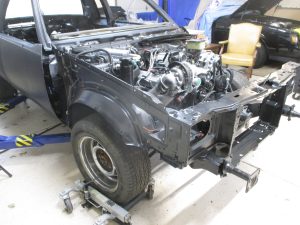
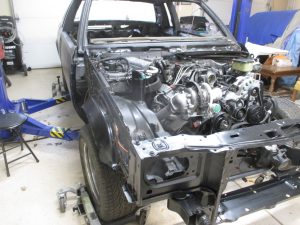
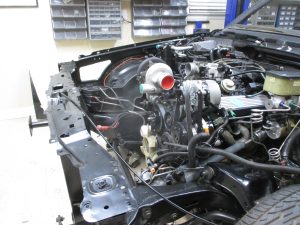
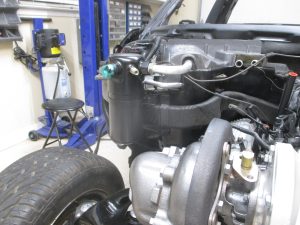
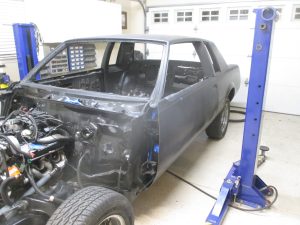
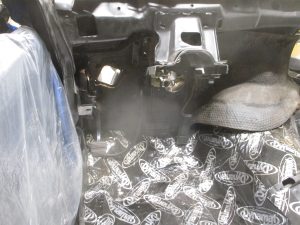
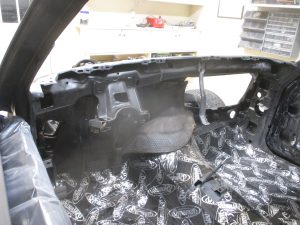
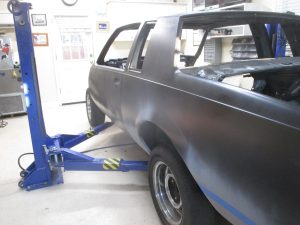
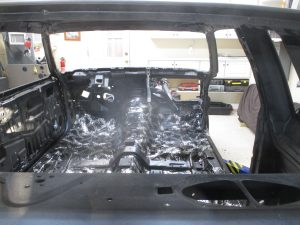
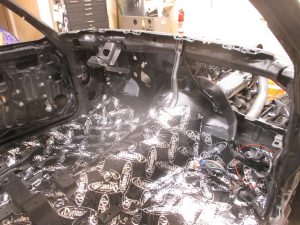
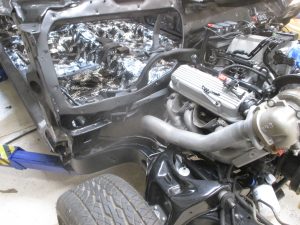
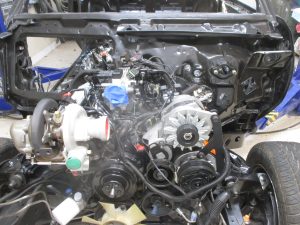
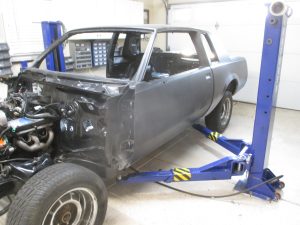
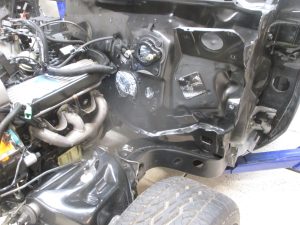
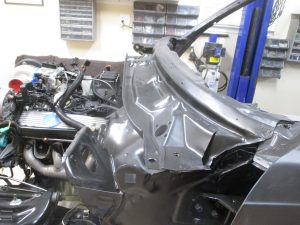
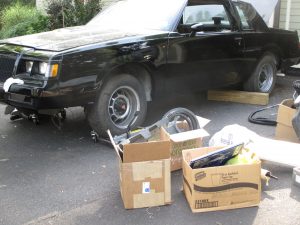
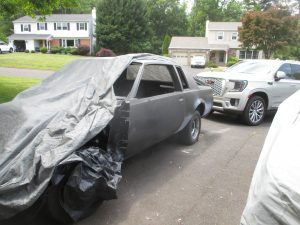
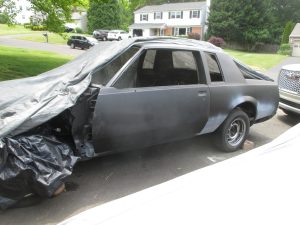
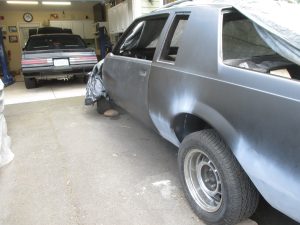
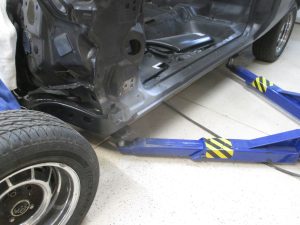
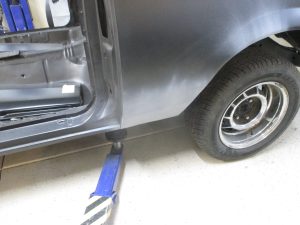
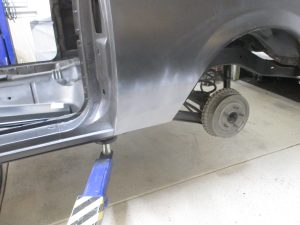
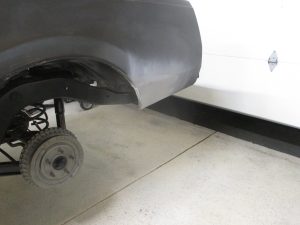
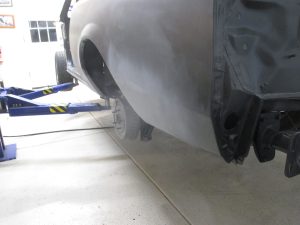
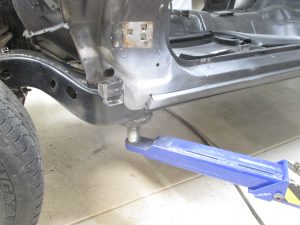
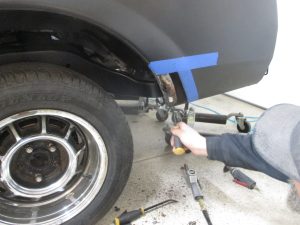
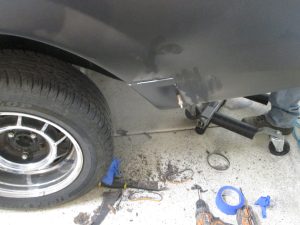
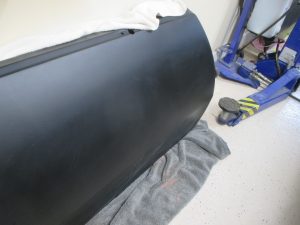
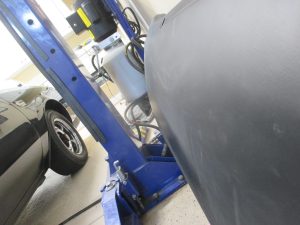
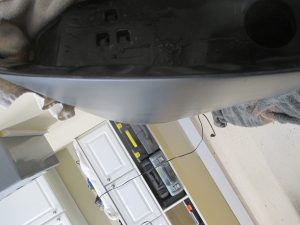
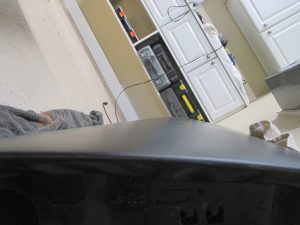
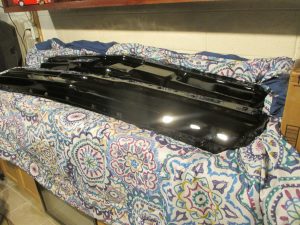
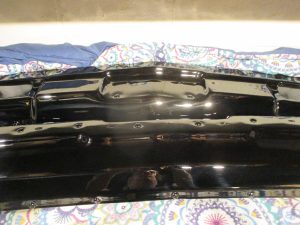
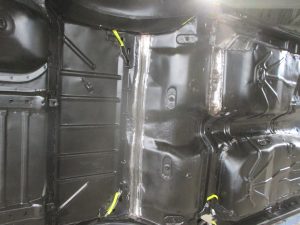
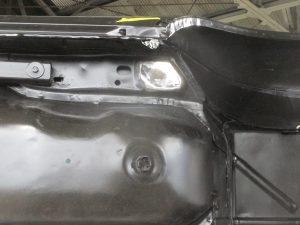
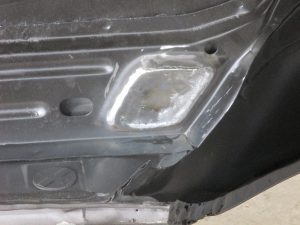
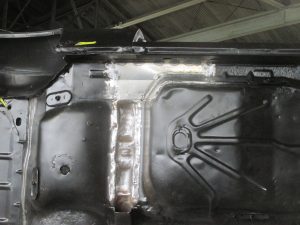
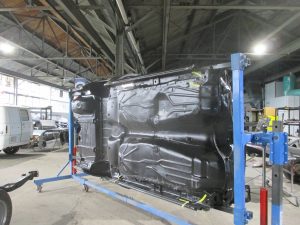
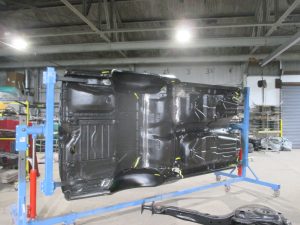
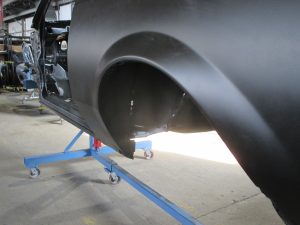
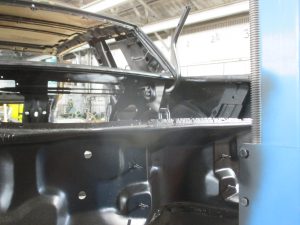
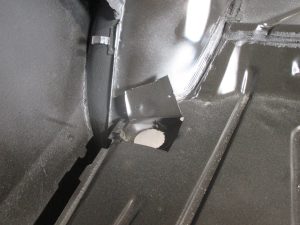
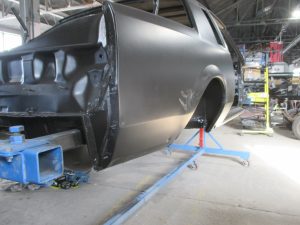
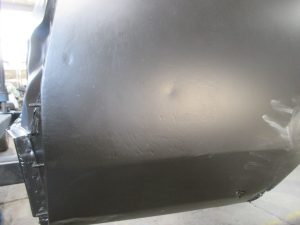
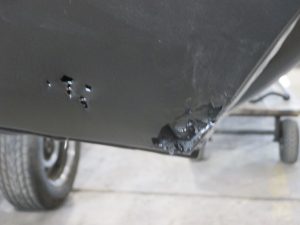
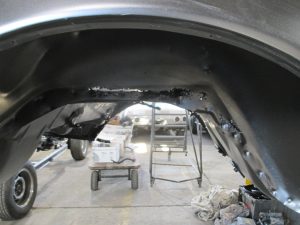
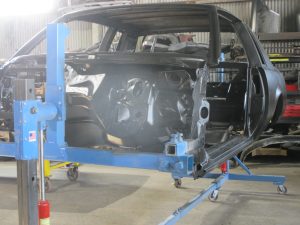
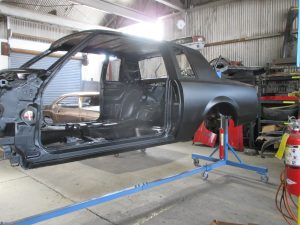
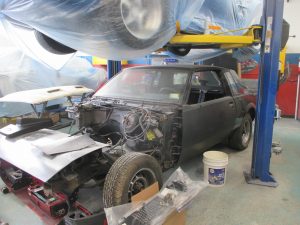
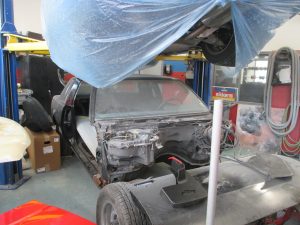
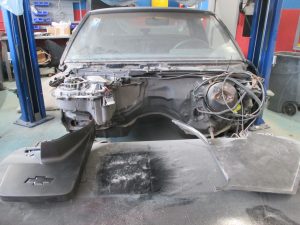
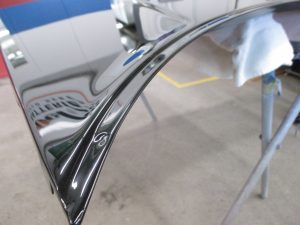
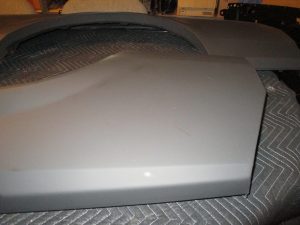
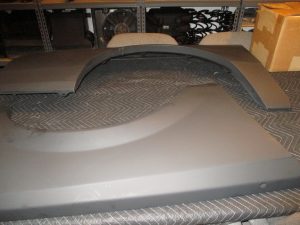
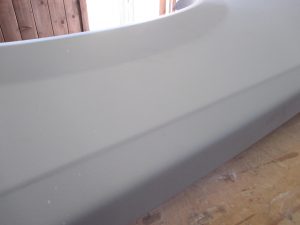
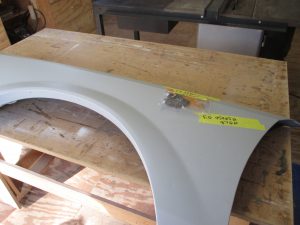
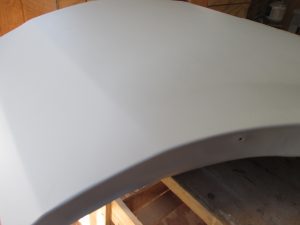
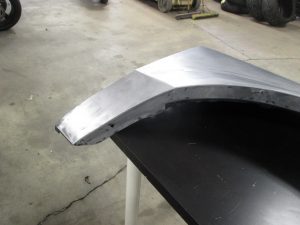
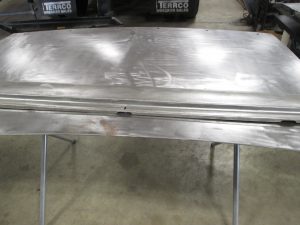
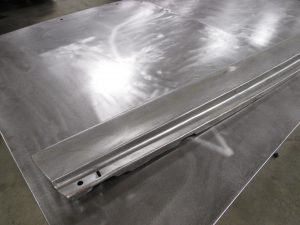
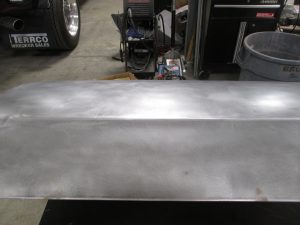
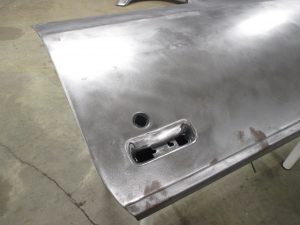
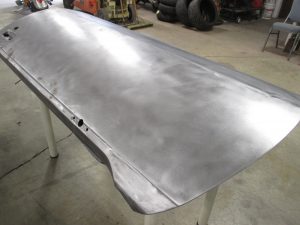
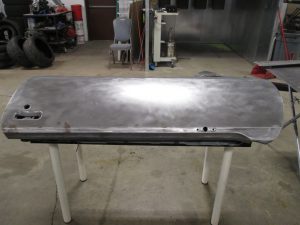
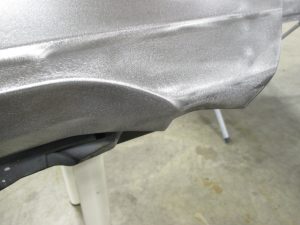
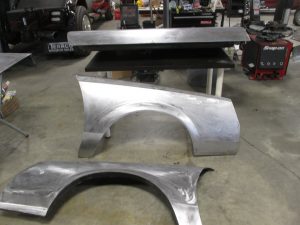
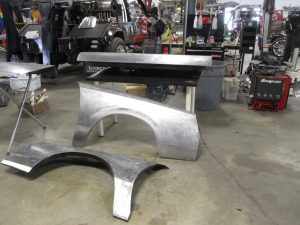
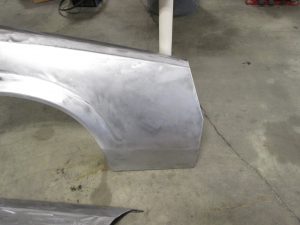
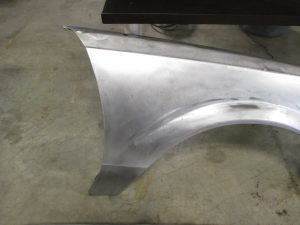
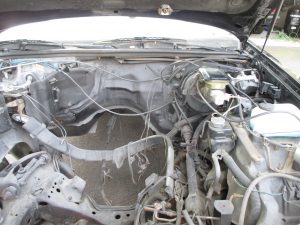
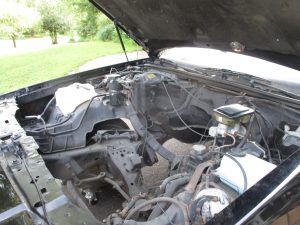
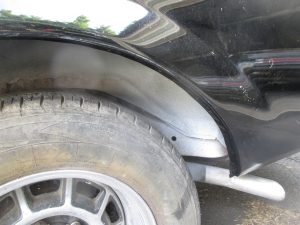
Primer is wet sanded and almost ready for paint
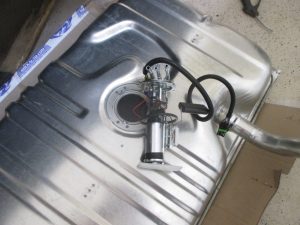
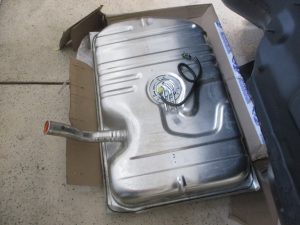
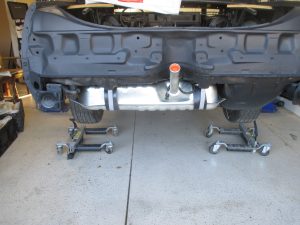
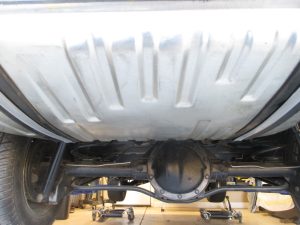
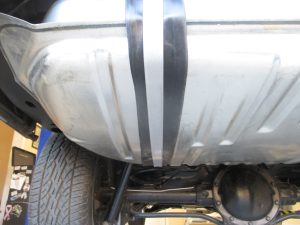
New fuel tank, fuel lines, pump and sender
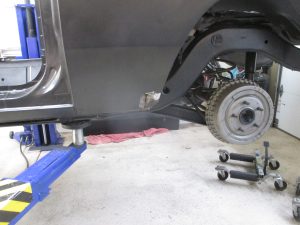
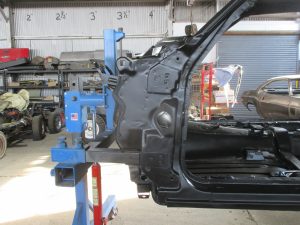
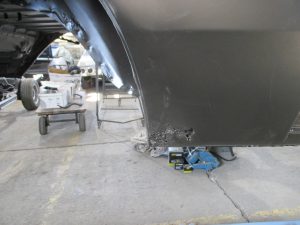
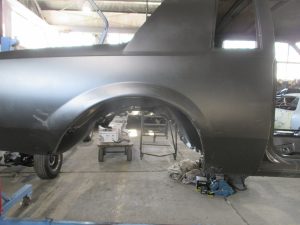
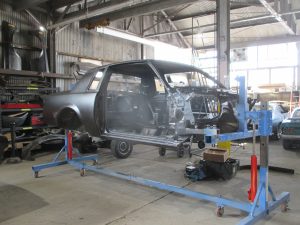
As the driver’s side metal work is complete we have test fit the door with a new door hinge.
Doors always need bodywork. Bodywork in some and they are now very straight
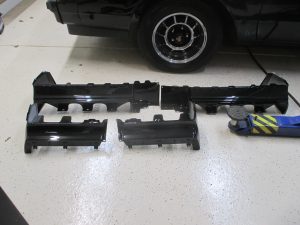
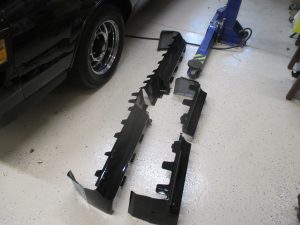
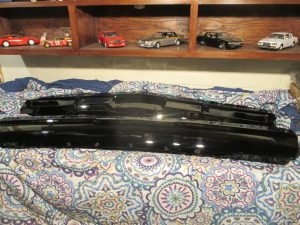
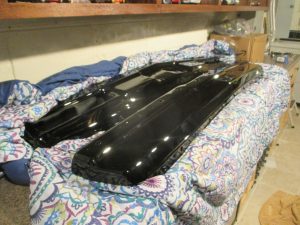
Bumpers and fillers are painted
Except for the doors and the body the entire car is painted
Doors will be painted after the final test fit
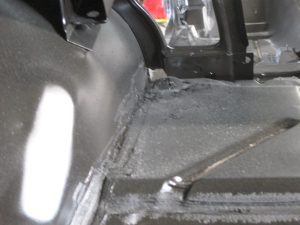
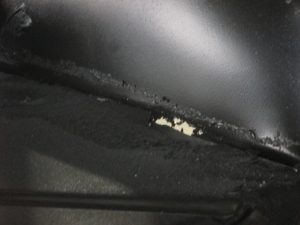
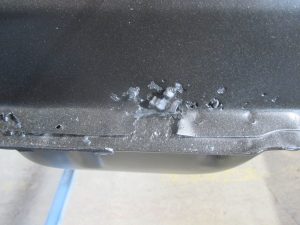
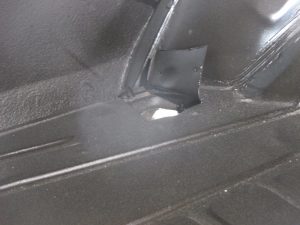
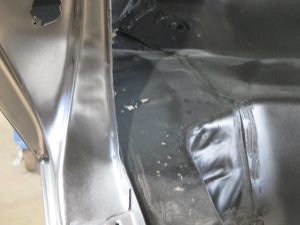
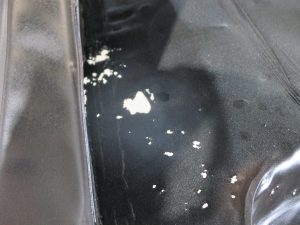
Almost every panel on the car has an area that is rusted through. The holes were plugged with anything they could find. We found newspaper, aluminum foil, duct tape anything that would keep the bondo in.
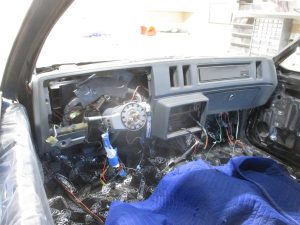
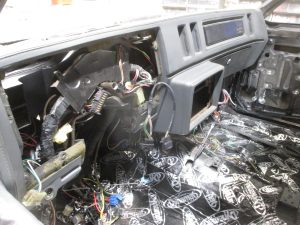
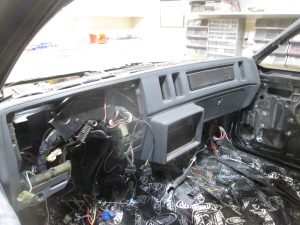
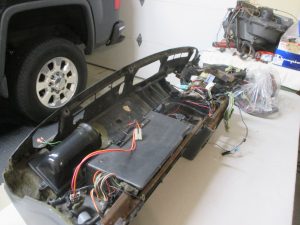
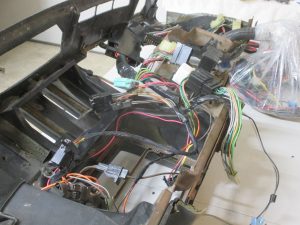
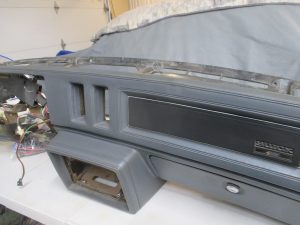
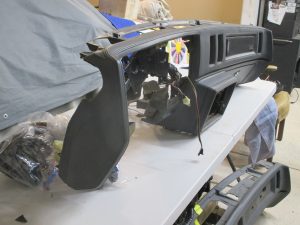
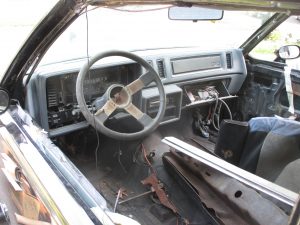
Dash
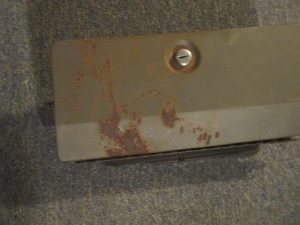
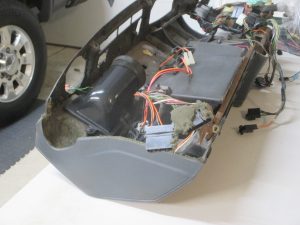
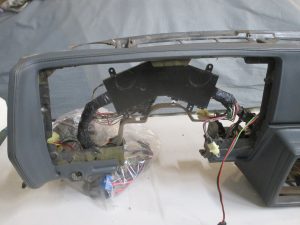
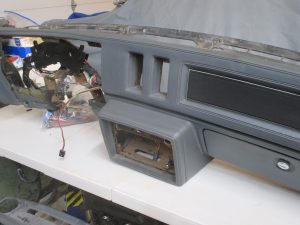
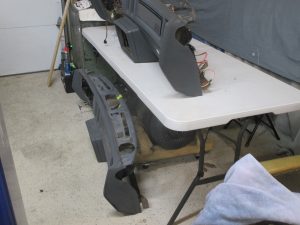
As we dug into the dash more we could see that the dash pad and other parts were in rough shape. The dash pad had been painted in some sections with autobody paint and not the correct color. It was panted only in sections so once we cleaned it, it was two different colors. As we tried to removed the paint it took off the entire dash finish. This plus the big crack and the rusted glove box made the dash pad too costly to repair.
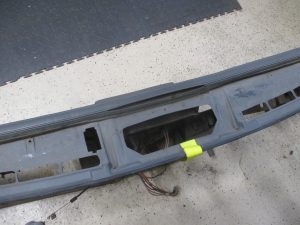
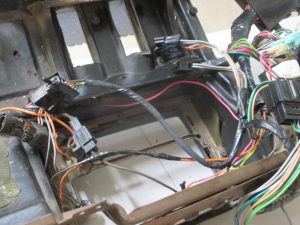
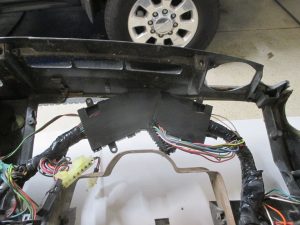
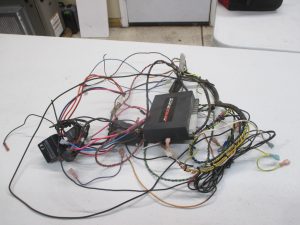
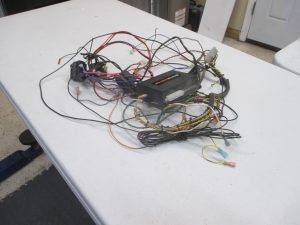
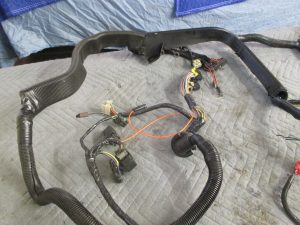
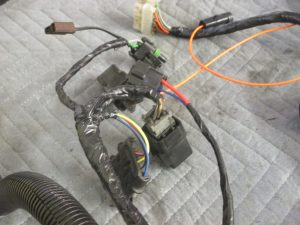
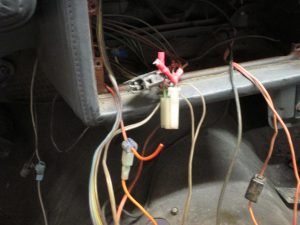
Once the pad was out we could see that deep inside the wiring was a mess. Many sections were cut off or missing
What we did
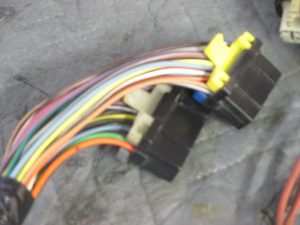
As a new dash pad and wiring was not in the budget I just took one for the team. I had a very nice original dash pad saved and donated the dash to the project. I then took some off the clock time this weekend sat down and rewired it. problem solved
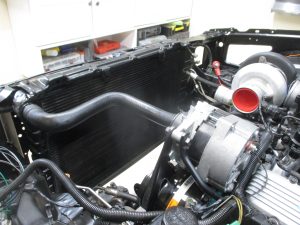
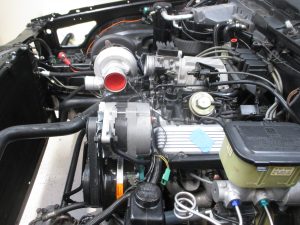
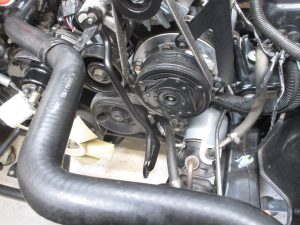
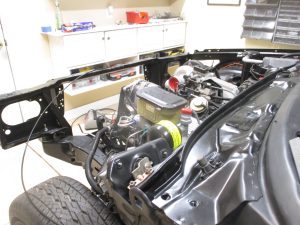
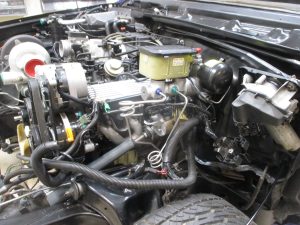
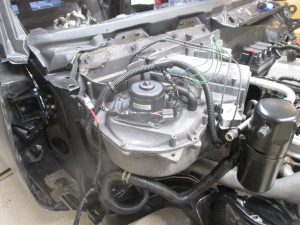
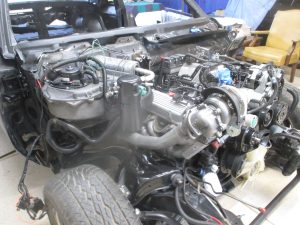
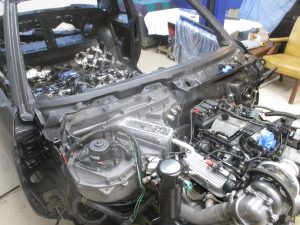
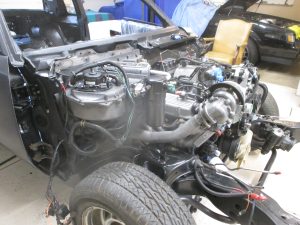
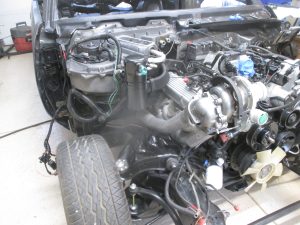
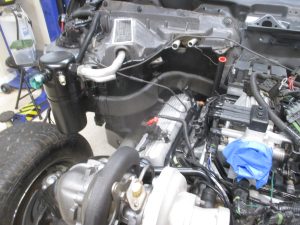
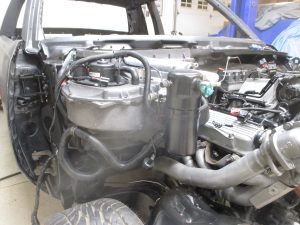
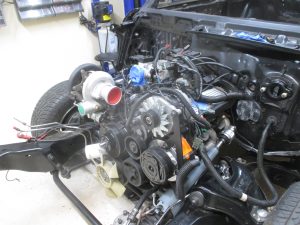
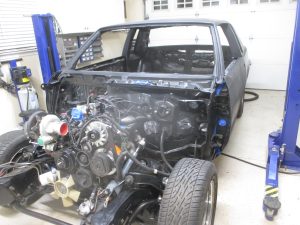
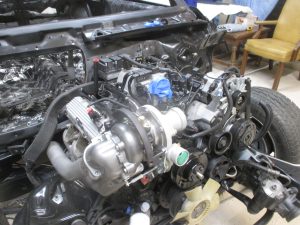
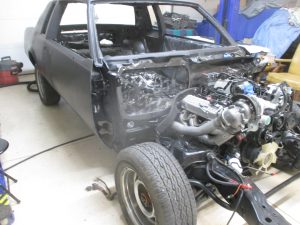
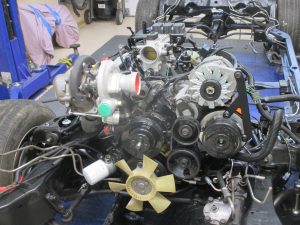
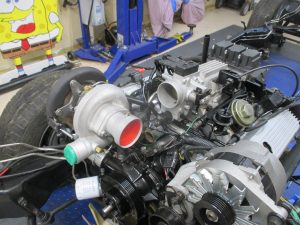
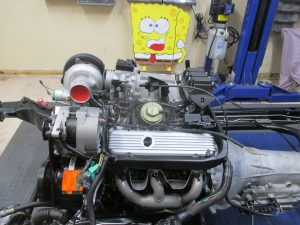
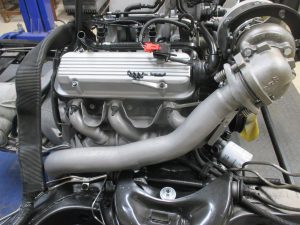
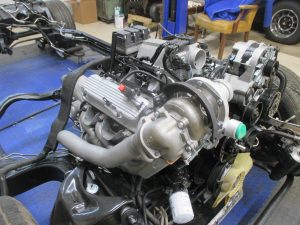
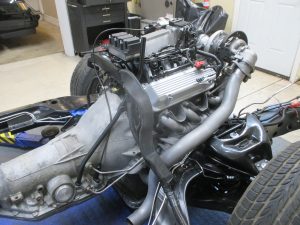
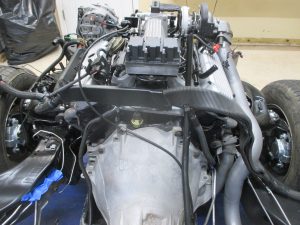
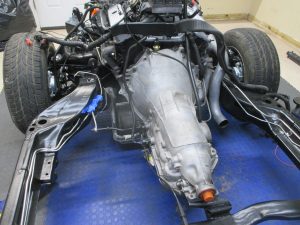
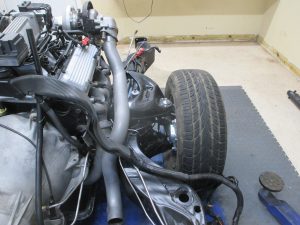
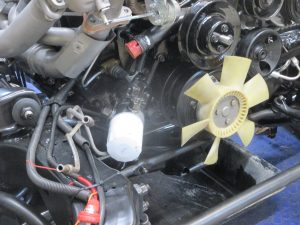
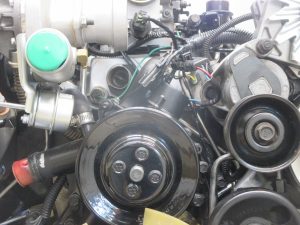
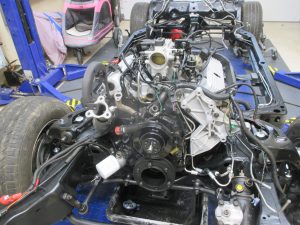
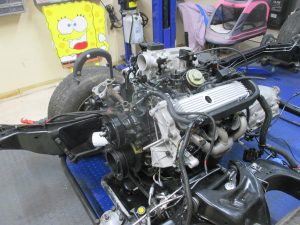
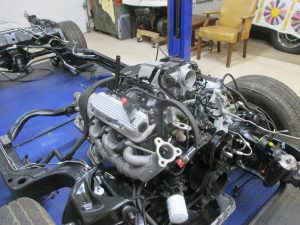
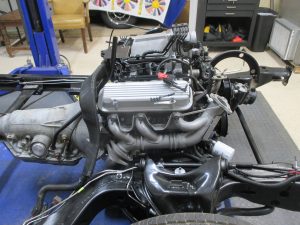
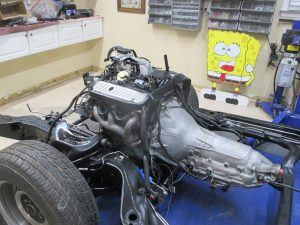
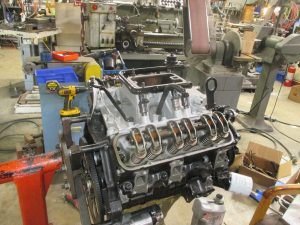
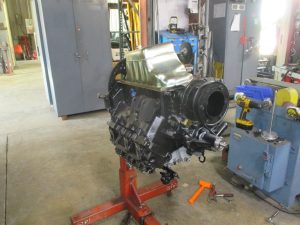
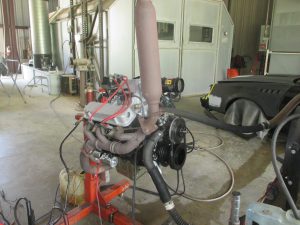
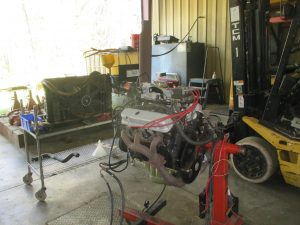
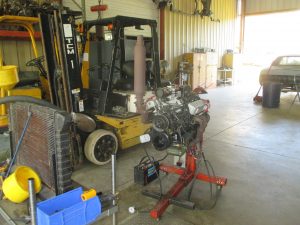
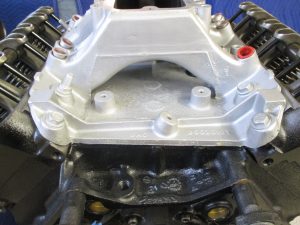
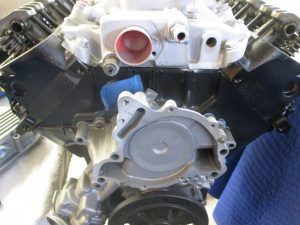
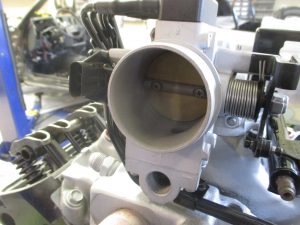
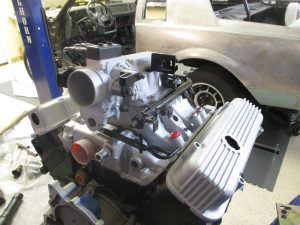
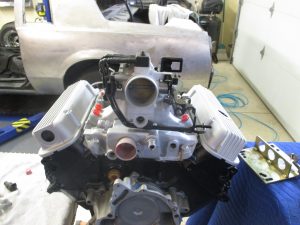
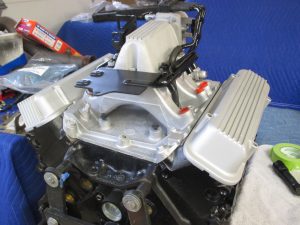
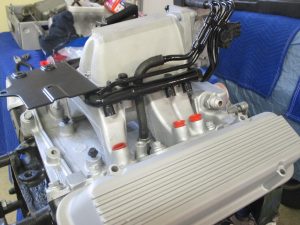
Motor on its way to a complete engine
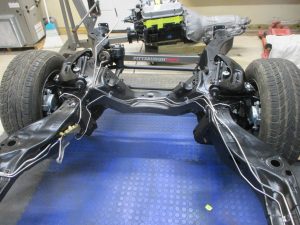
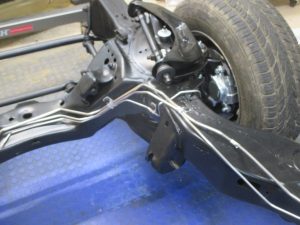
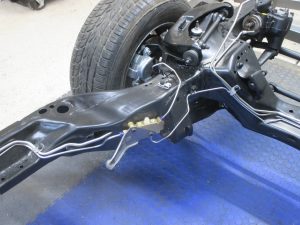
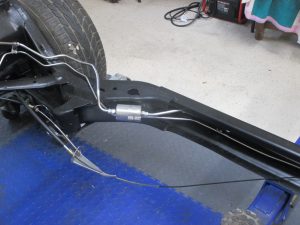
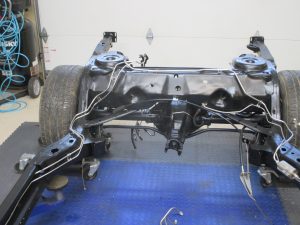
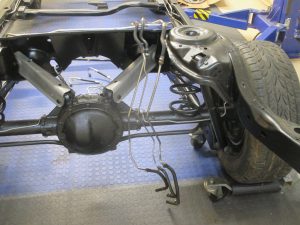
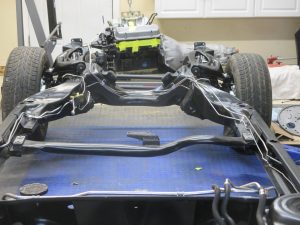
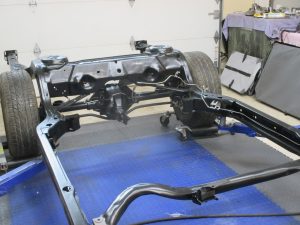
New Stainless steel fuel and brake lines
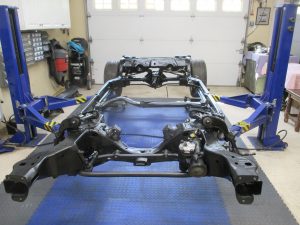
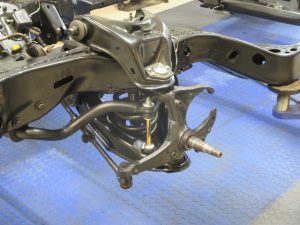
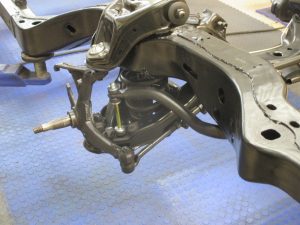
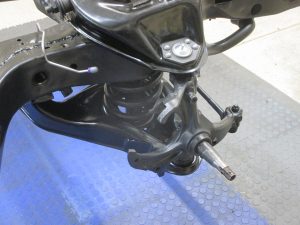
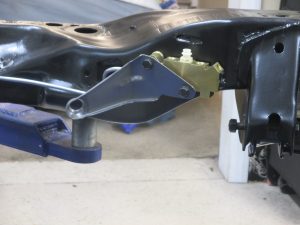
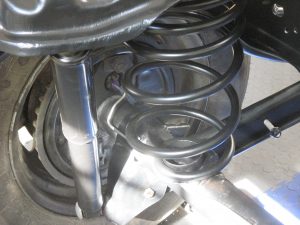
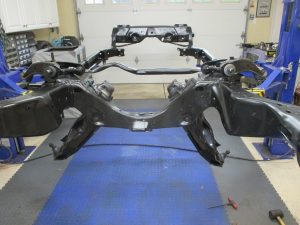
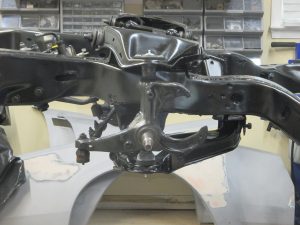
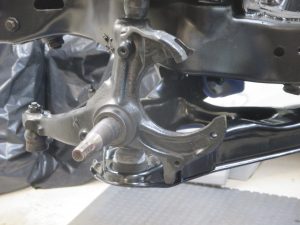
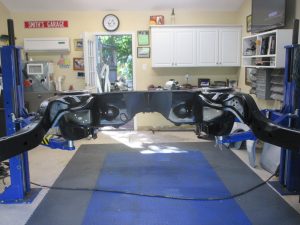
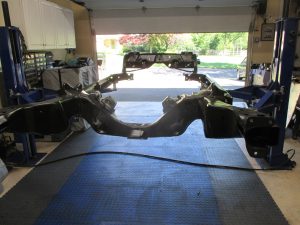
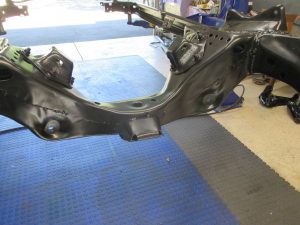
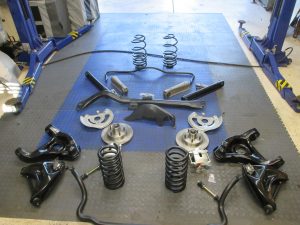
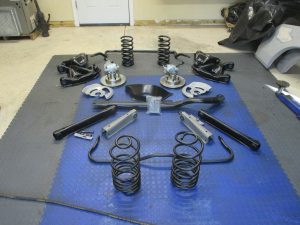
Front suspension
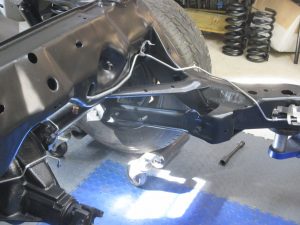
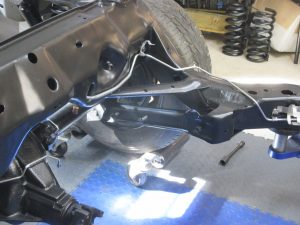
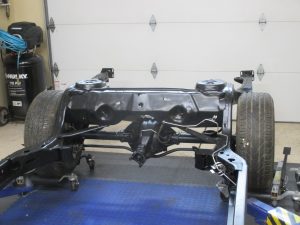
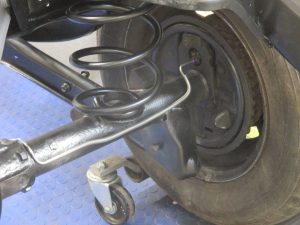
All new stainless steel brake lines
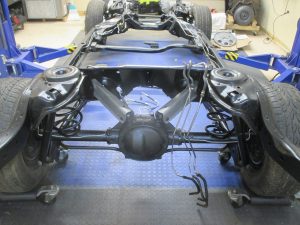
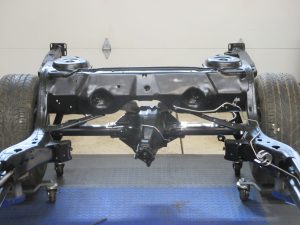
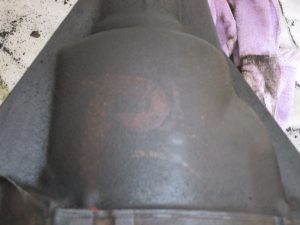
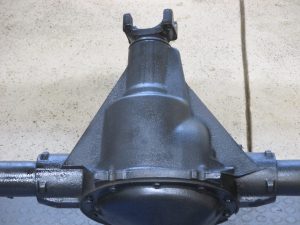
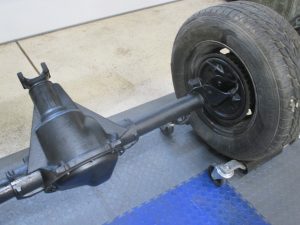
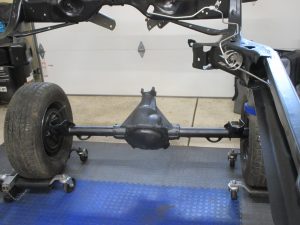
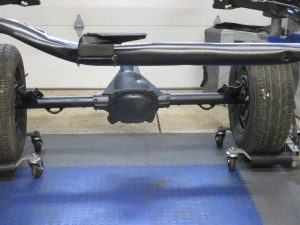
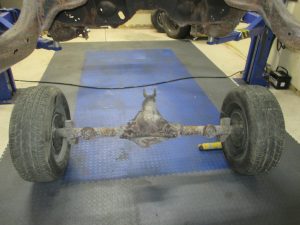
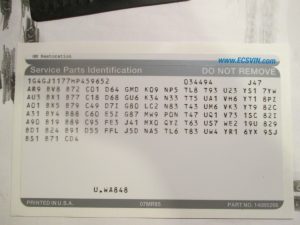
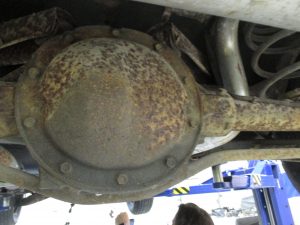
The “P” painted on the assembly let them know to put the POSI rear gears in the car
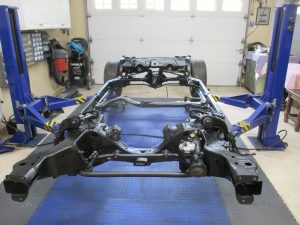
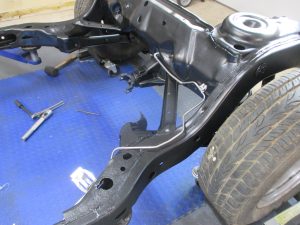
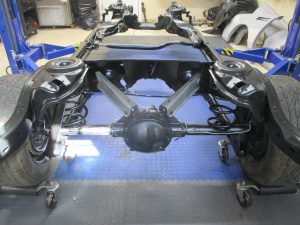
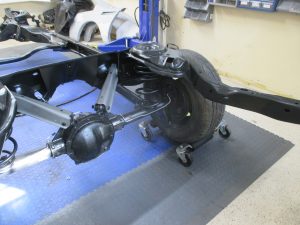
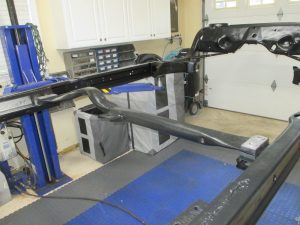
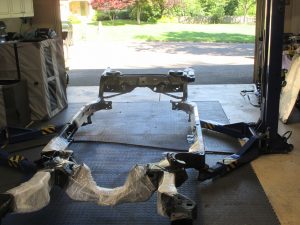
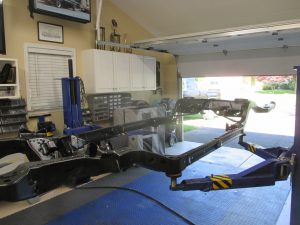
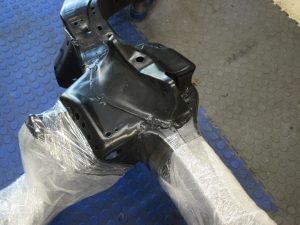
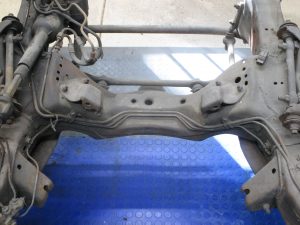
This car had so many hidden rust issues we thought it was best to powder coat the frame and as many parts as possible to insure no future rust issues
Time to remove everything to do it right. Dozens of rusty bolts, fuel and brake lines
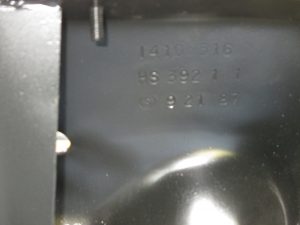
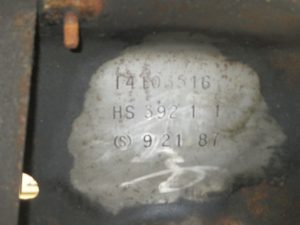
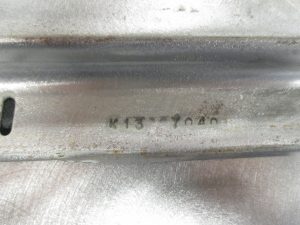
Frame build date
Picked clean and ready for the next step
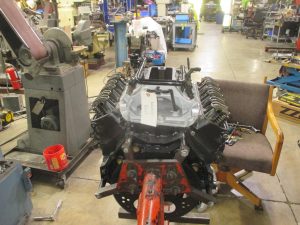
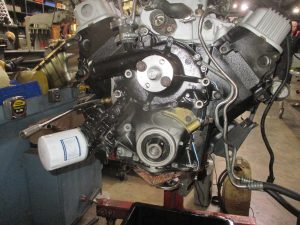
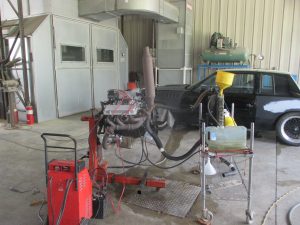
Engine start
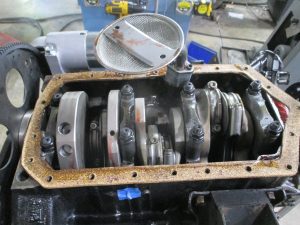
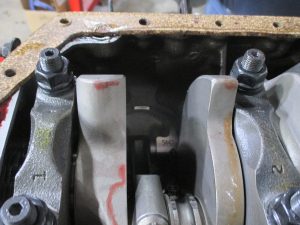
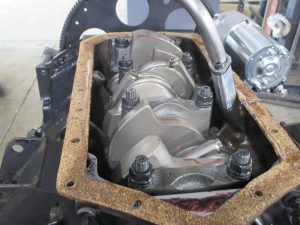
A look at the lower motor shows a quality steel crank and forged pistons.
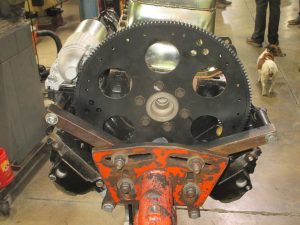
A neutral balance flywheel and harmonic balancer shows us a balanced motor
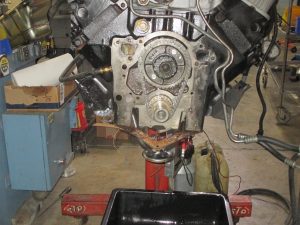
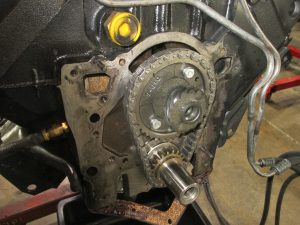
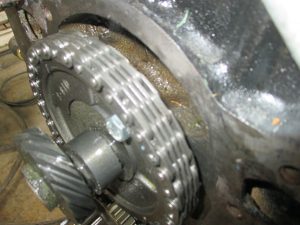
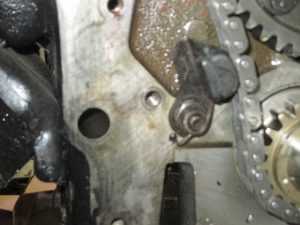
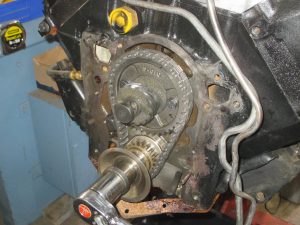
The motor appeared to be well done except for the timing assembly. The timing assembly has 4 main parts: the timing chain, chain tensioner, cam button ( super important it keeps the cam from moving front and back) and an oil deflector( this has many names but it deflects oil to the cam gear) This motor is missing 3 of these parts. The only part installed was the timing chain
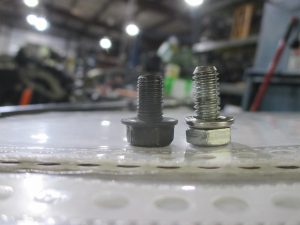
Also the silver bolts are incorrect as they are too long and will rub as the crank spins
Here you can see the timing chain tensioner, cam button and oil splasher. Also the correct bolts were installed
Once the parts were installed, we closed it up. She fired right up and ran like a beast
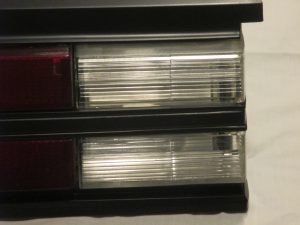
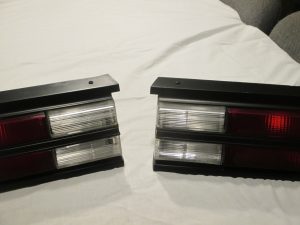
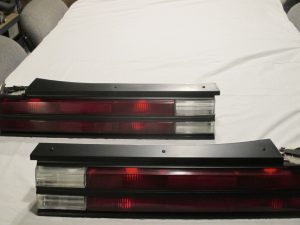
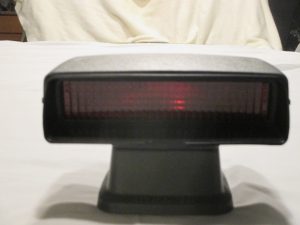
The old tail lights were cloudy and worn. This a beautifully restored complete tail light assembly. They look even better in person. Also restored is the the 3rd brake light.
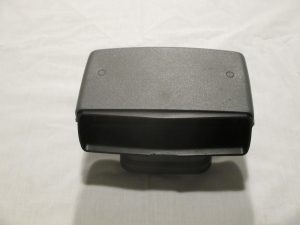
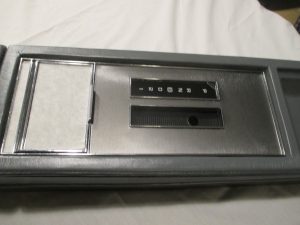
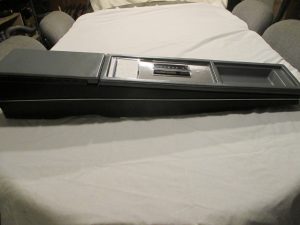
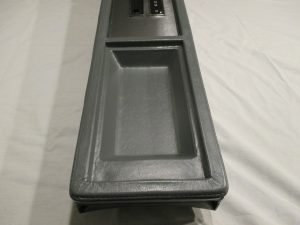
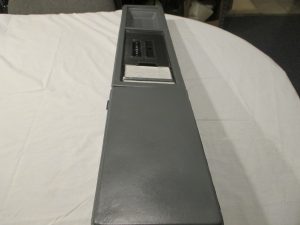
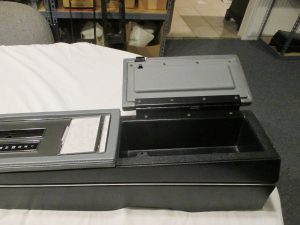
The center console has been restored with a nice shifter plate, new gear indicator and new appliques. Each of these items still has the protective sheet on top. The upper section was removed completely degreased and professionally restored to the correct gray. The same was done with the box cover and hinge. It looks great. Again even nicer in person.
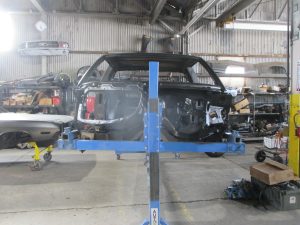
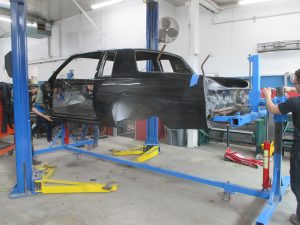
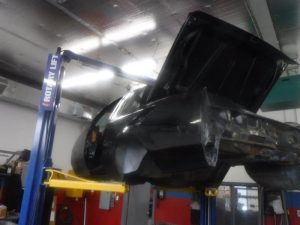
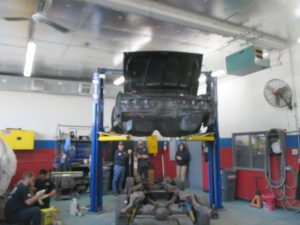
Body lift
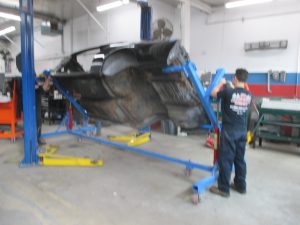
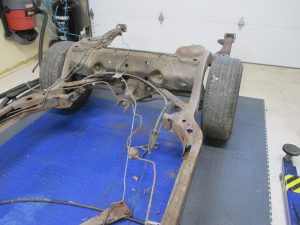
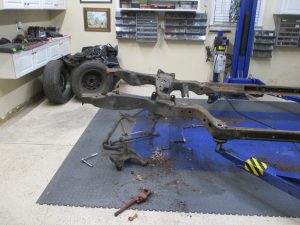
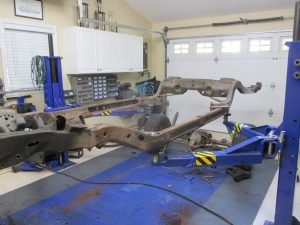
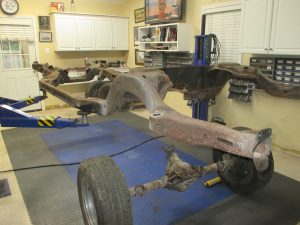
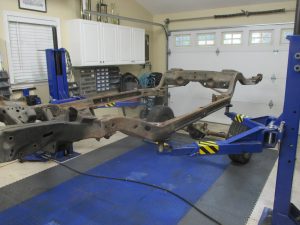
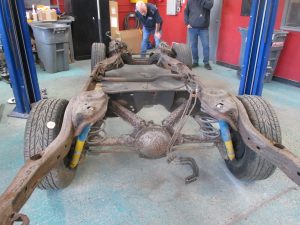
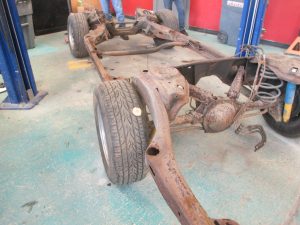
Its always exciting once the body comes off the car. You can see a car split into its two basic parts, a frame and a body. It always tells the truth of the cars condition!!!
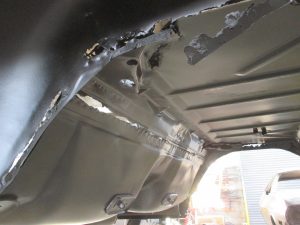
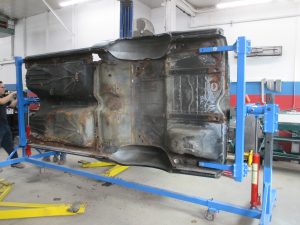
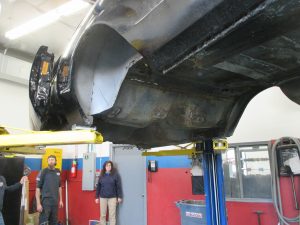
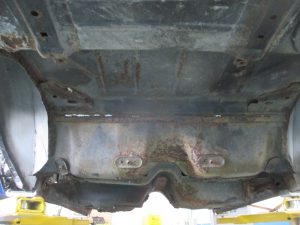
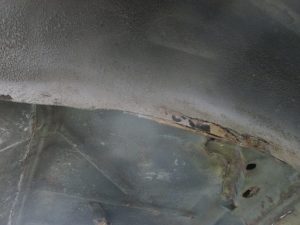
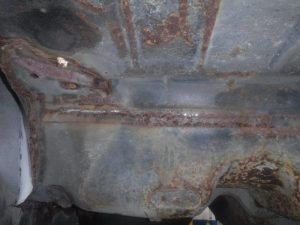
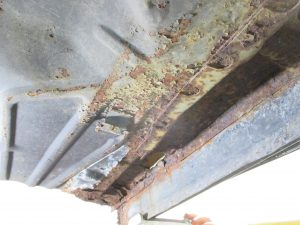
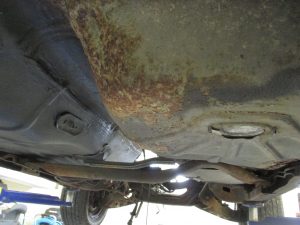
Once a car is up we can see that floor pan is in worse shape than we could see from the inside of the car. The driver’s side half of the floor pan was removed and replaced. It was improperly cut so it does no fit right and was never welded in place. It was put pack with some type of seam sealer on all the connection points. In other words it was glued back on. As a result the car need an entire new floor pan
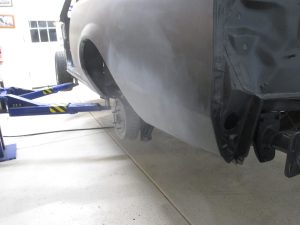
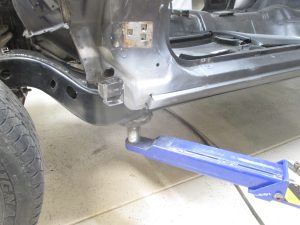
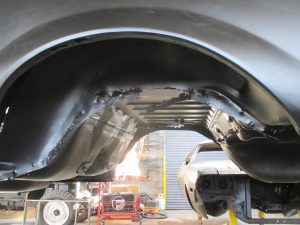
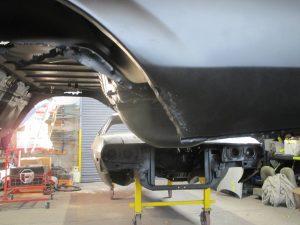
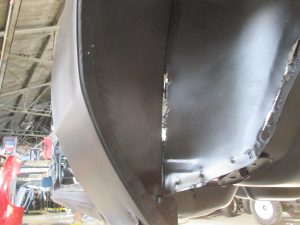
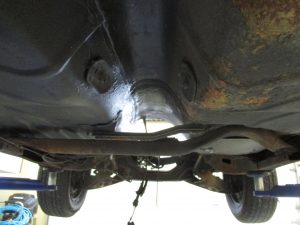
As you will see below that most of the belly of the car must be reconstructed and there are many hidden areas that must be fabricated. This is going to use about $5000.00 addition dollars of the budget. This work needs to be done to make the car solid and safe again.
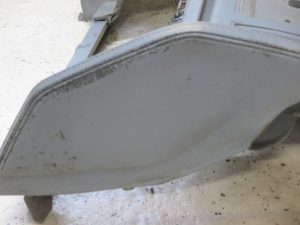
The area where the back seat tub is also no longer attached to the car. Some metal needs to be fabricated and the area welded back to the body
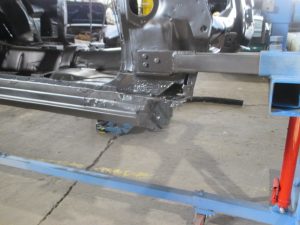
Some of the bracing for the body mounts is gone and must be replaced
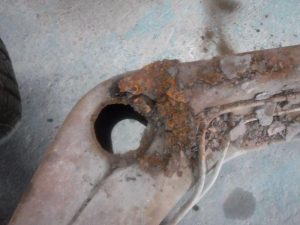
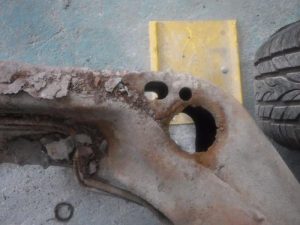
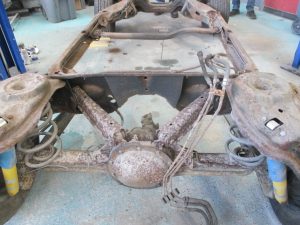
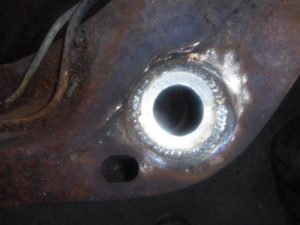
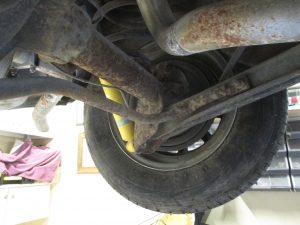
The frame is straight, It has a lot of surface rust. The main issue is that 6 of the holes for the bushing mounts are enlarged from rust and can no longer support the body.
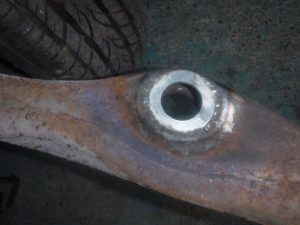
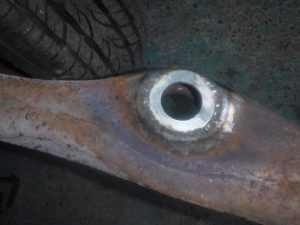
Repairs have begun by welding special hardened steel washers to support the new body bushings
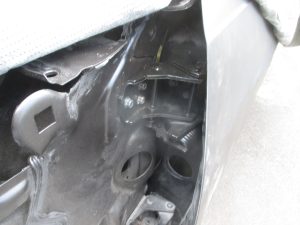
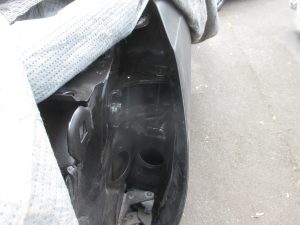
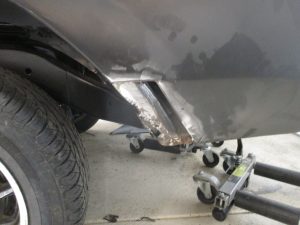
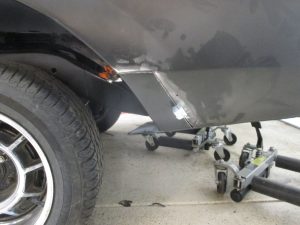
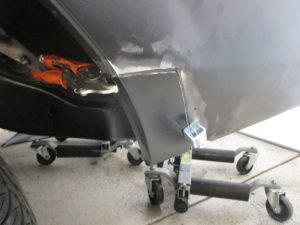
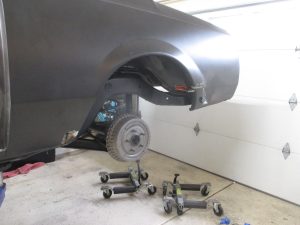
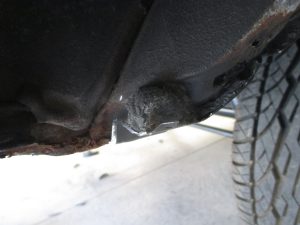
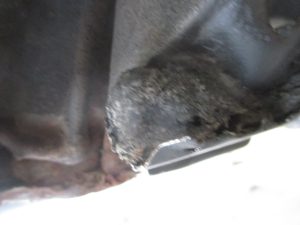
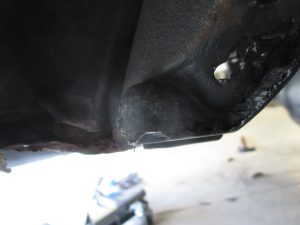
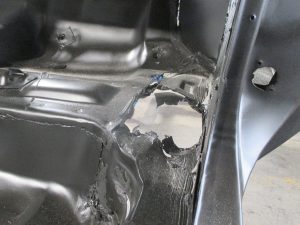
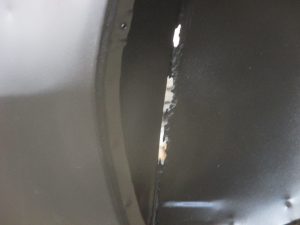
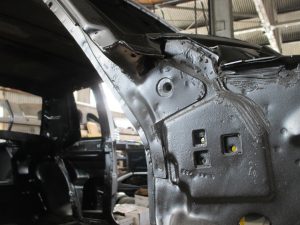
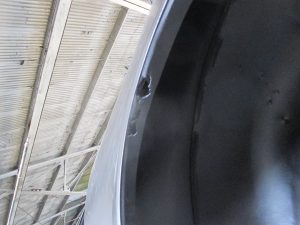
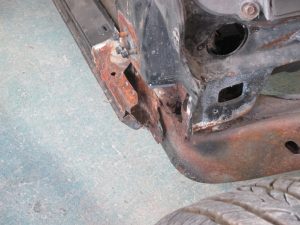
There are also small area that need replacement such as the lower a pillar panel (Where the rear inner fender and fender mount to the body)
“For Dad”
1987 Buick Grand National hardtop
In 1987 John’s Dad purchased a brand new Buick Grand National, John was just 8 years old but knew immediately that the Grand National was his favorite car and he would some day own one for himself.
Sadly John’s Dad sold their Grand National and owning his won Grand National was now just a dream until……
Returning home from work one day in 2005 John stumbled across this 1987 Grand National Hardtop “for sale”. The car was in need of some real TLC but was operational. John decided to drive and enjoy the car until a restoration was imperative.
Their have been many bumps in the road for John and his Dad but now the time has come for this Father/son team to bring this American icon back to its former glory.
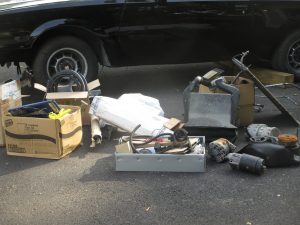
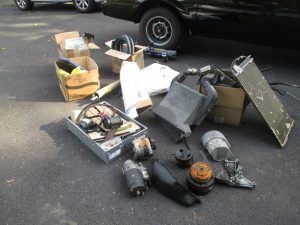
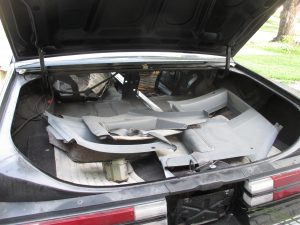
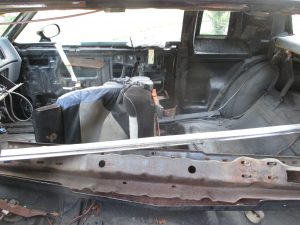
As best we know so far this was a complete car that went to a body shop to be painted. Some time later the car was rescued with a questionable paint job and the rest of the car piled into boxed with nothing labeled.
After weeks of inventorying the remaining parts and sourcing many of the missing parts we are ready to take her apart and bring her back to her former glory.
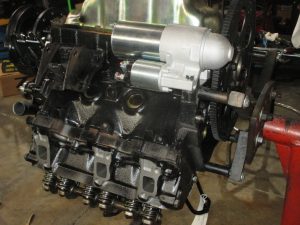
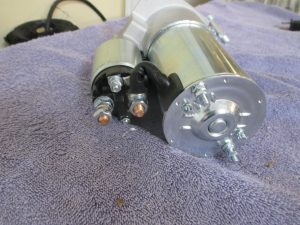
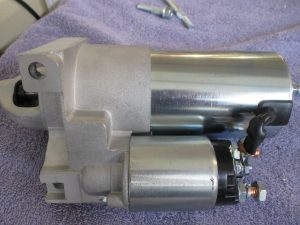
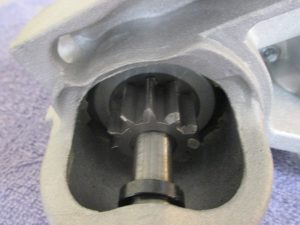
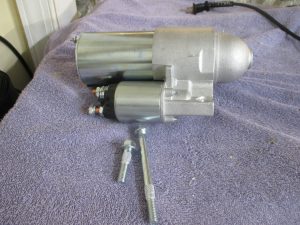
New starter built for this motor. stainless steel case, hardened steel parts, 2/3 the size of the stock started and half the weight.
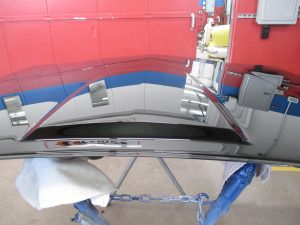
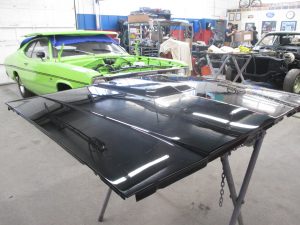
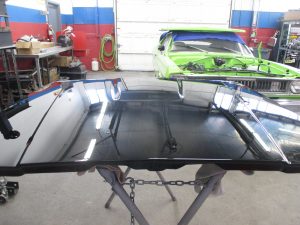
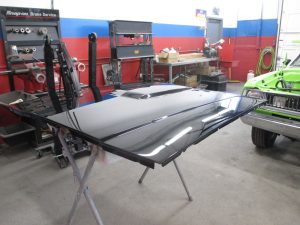
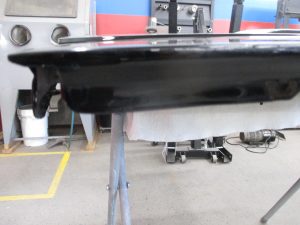
Show Quality Hood
Some new parts:
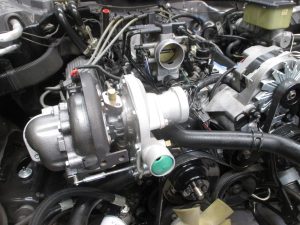
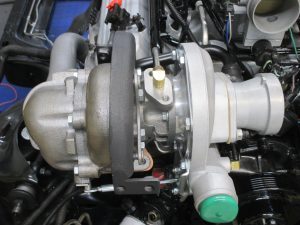
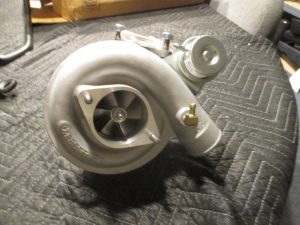
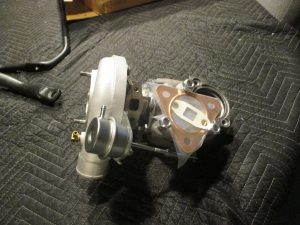
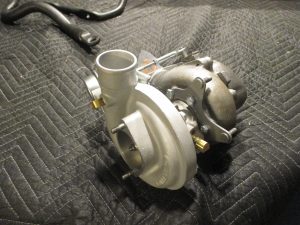
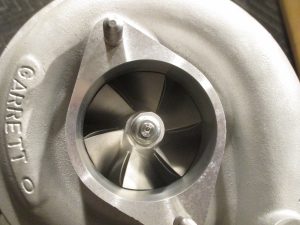
New TA 49 Turbo with adjustable waist gate actuator. This unit can support up to 550 HP and comes with a 1 year 12,000 warranty
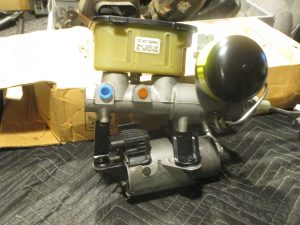
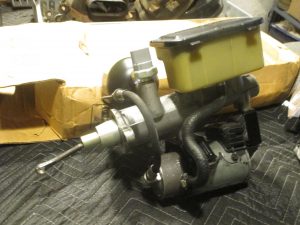
Completely rebuilt correct powermaster brake system. This unit comes with a lifetime warranty
Metalwork
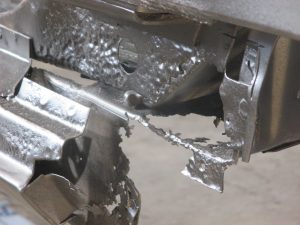
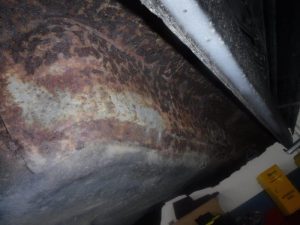
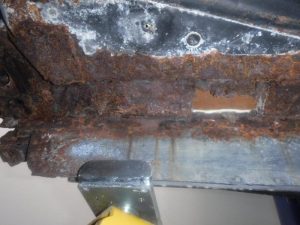
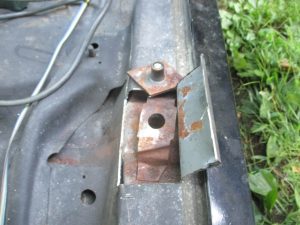
The car has some metal issues. Body bushing bolts broken off, a lot of rust and missing metal.
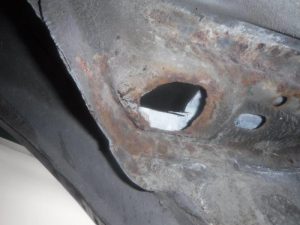
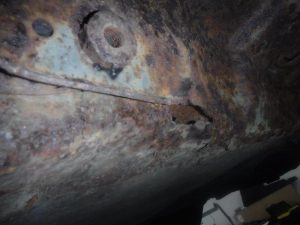
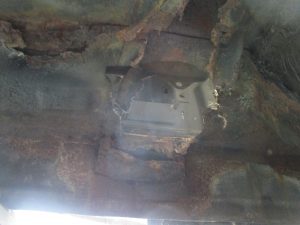
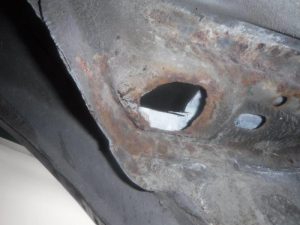
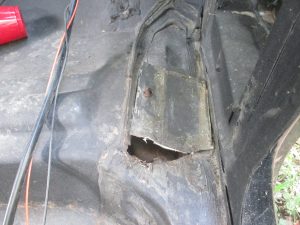
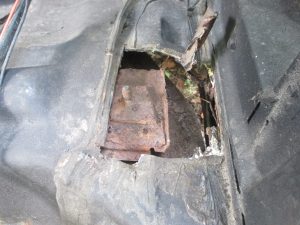
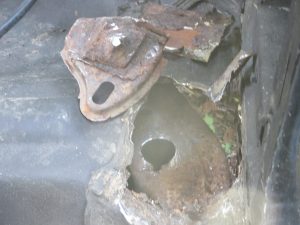
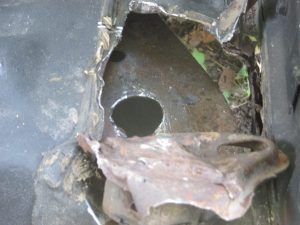
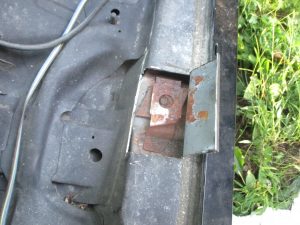
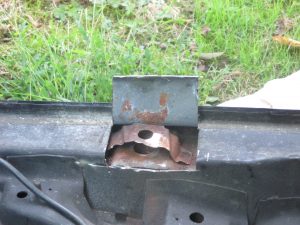
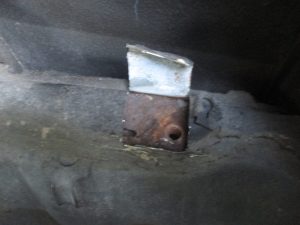
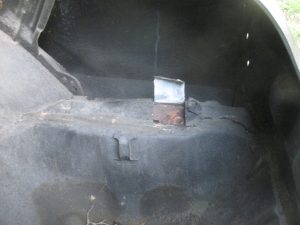
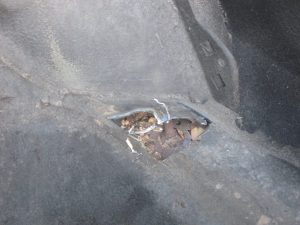
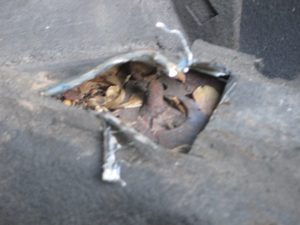
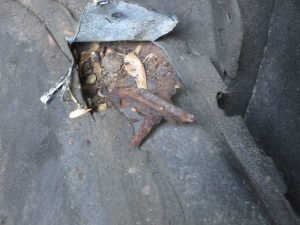
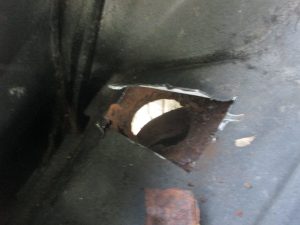
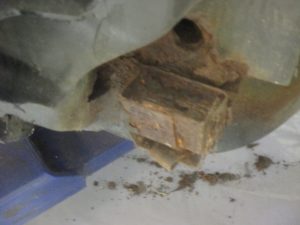
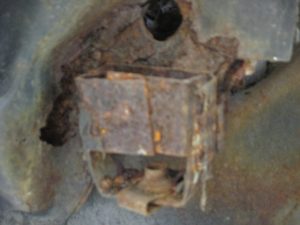
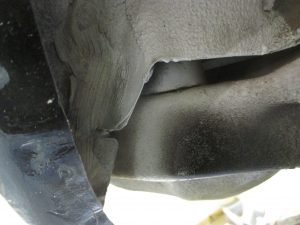
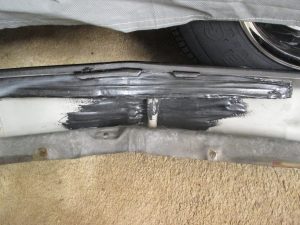
Here it looks like someone could not get the body bushing out. So they cut open a square to access it, which is normal.
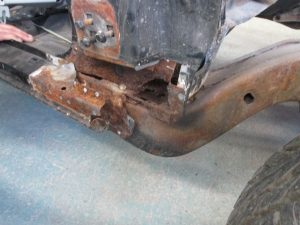
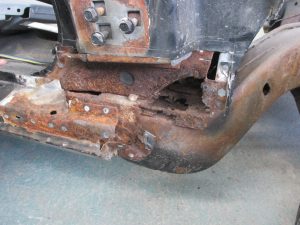
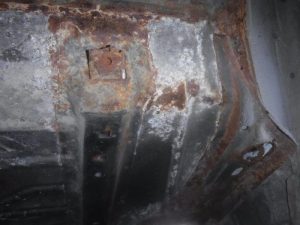
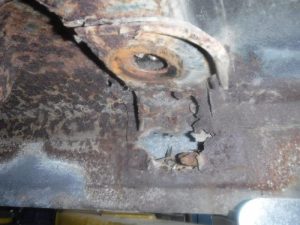
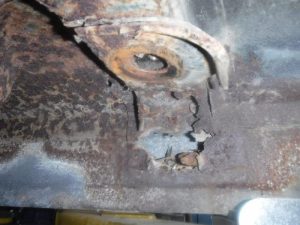
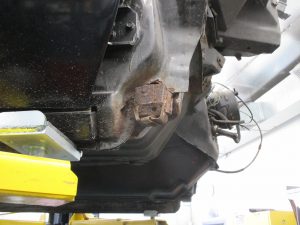
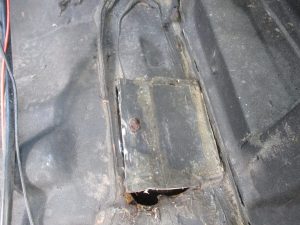
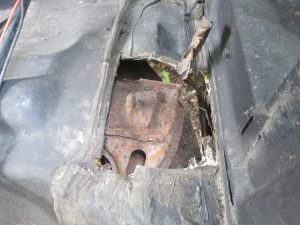
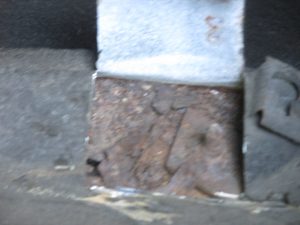
Once opened they may have seen the the part of the body that the frame bolts to was rusted away. So their was no way to bolt the the frame back on. They left the rusted body and clued the patch back on with seam sealer and left it for the next guy
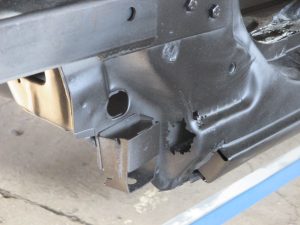
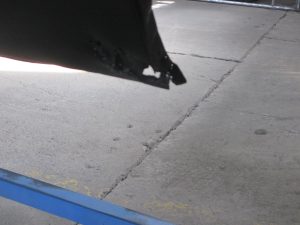
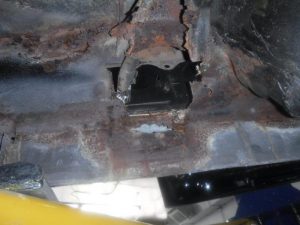
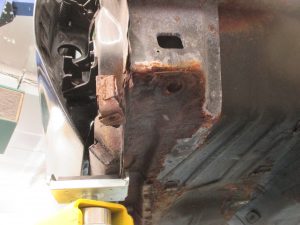
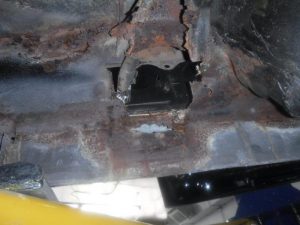
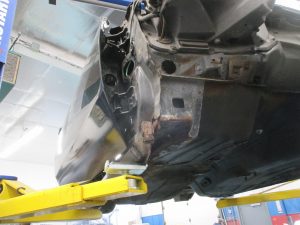
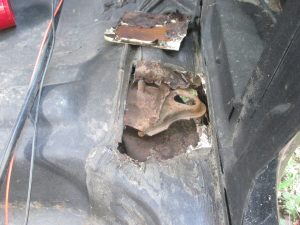
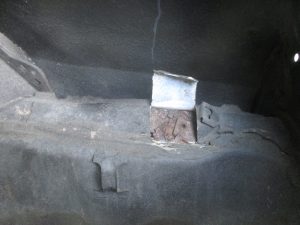
The piece below if part of the underbelly of the car. It will have to be reconstructed in order to bolt the frame to the body.
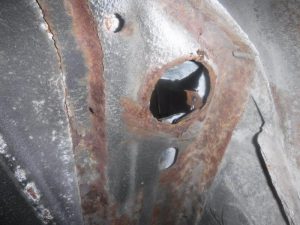
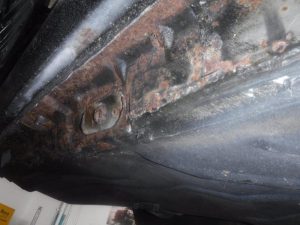
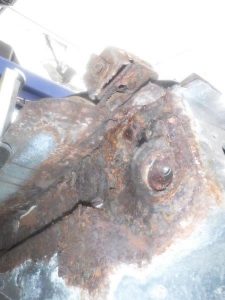
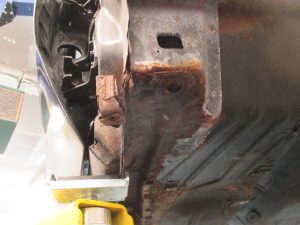
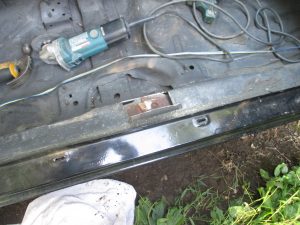
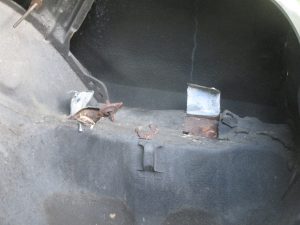
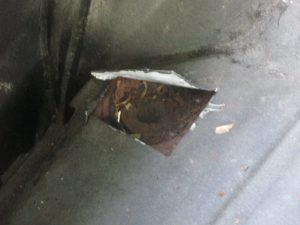
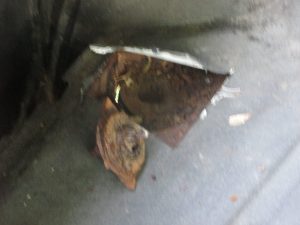
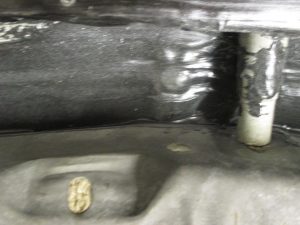
The remaining pictures are the other body bolts that were broken off inside the body of the car. Each one has to be accessed by cutting a piece of the body away and removing the broken bolt. Repairs will then have to be made and the patches welded back in position. A time consuming and sometime painful process.
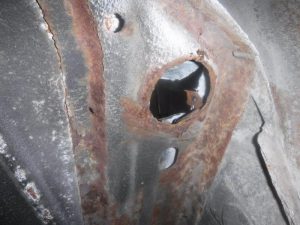
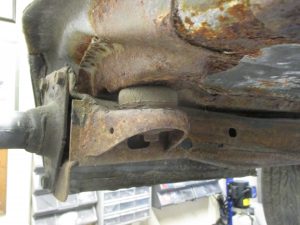
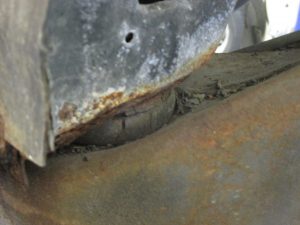
In this area the body was rusted so much that the bushing mount hole is now larger than the bushing. This area will also have to be reconstructed.
“For Dad”
1987 Buick Grand National hardtop
In 1987 John’s Dad purchased a brand new Buick Grand National, John was just 8 years old but knew immediately that the Grand National was his favorite car and he would some day own one for himself.
Sadly John’s Dad sold their Grand National and owning his won Grand National was now just a dream until……
Returning home from work one day in 2005 John stumbled across this 1987 Grand National Hardtop “for sale”. The car was in need of some real TLC but was operational. John decided to drive and enjoy the car until a restoration was imperative.
Their have been many bumps in the road for John and his Dad but now the time has come for this Father/son team to bring this American icon back to its former glory.
As best we know so far this was a complete car that went to a body shop to be painted. Some time later the car was rescued with a questionable paint job and the rest of the car piled into boxed with nothing labeled.
After weeks of inventorying the remaining parts and sourcing many of the missing parts we are ready to take her apart and bring her back to her former glory.
Bodywork, lots of body work
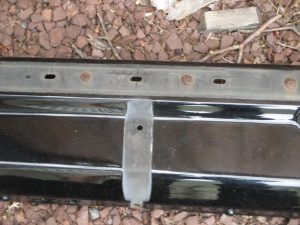
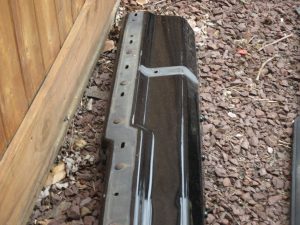
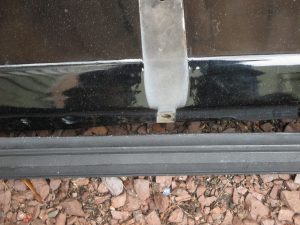
How not to paint a GN bumper. I guess to lazy to remove the bumperettes and bumper strip. Just painted around them
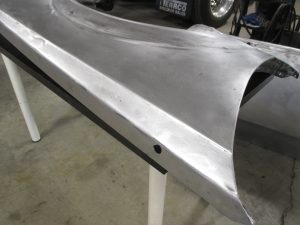
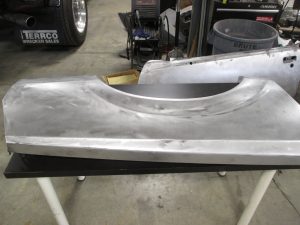
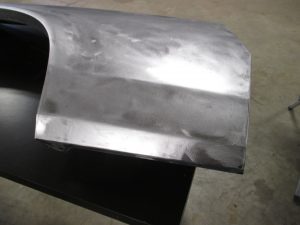
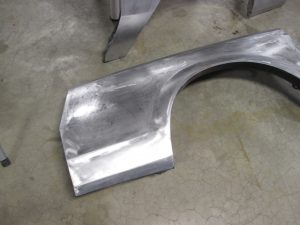
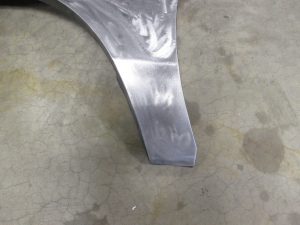
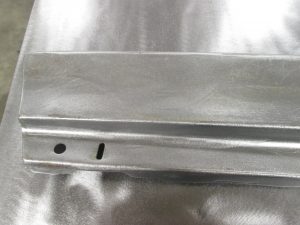
Fenders are in top quality epoxy primer to seal the metal and identify any imperfections
Next layer is a newer product called slicksand, which will allow us to fine tune then fender. This was way if we want a show quality paint job the foundation is there.
Motor work
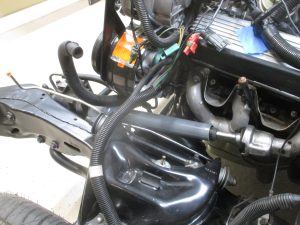
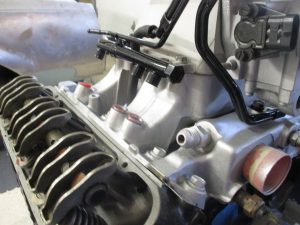
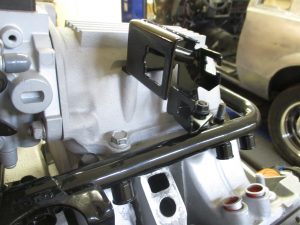
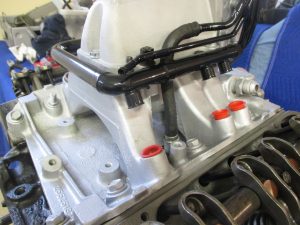
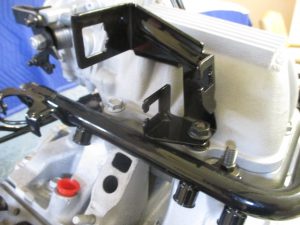
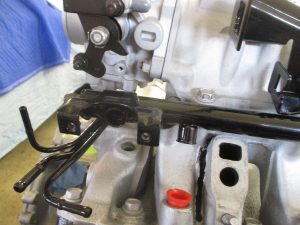
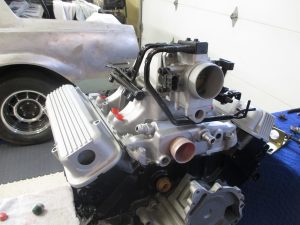
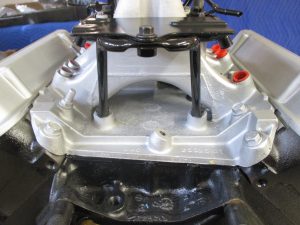
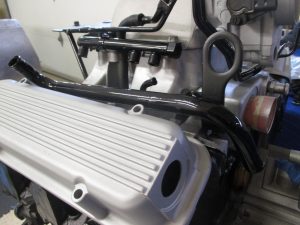
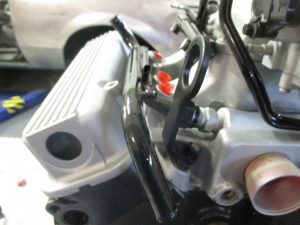
Working on the many parts to complete the motor. Lines, nuts, bolts and brackets are all powder coated as well as the fuel rail.
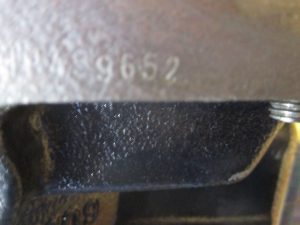
Numbers Matching!!
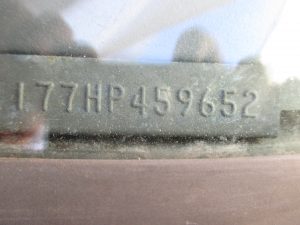
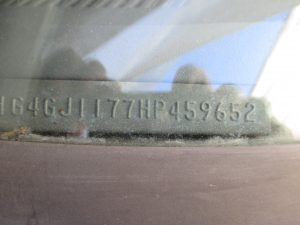
After several acid treatments we were able to uncover the VIN numbers on the engine block and they match.
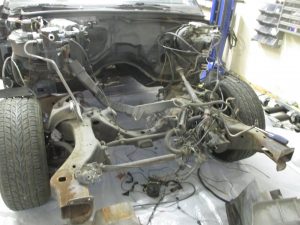
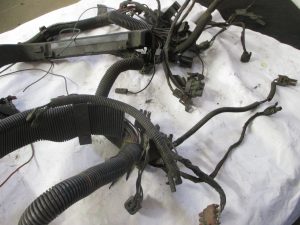
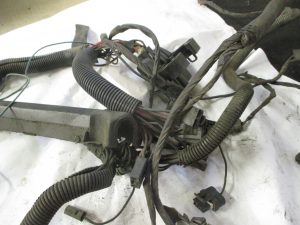
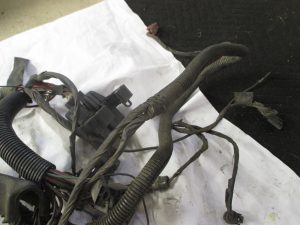
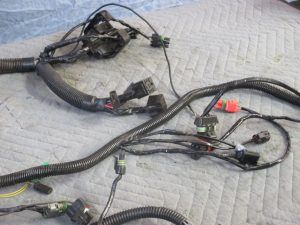
Engine harness before
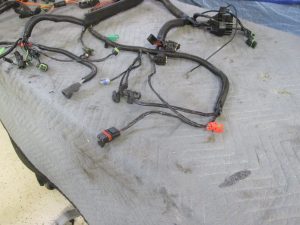
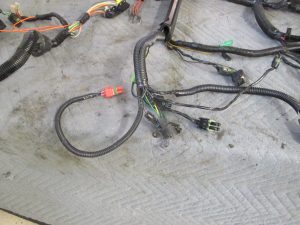
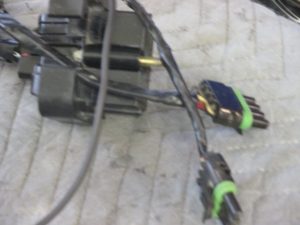
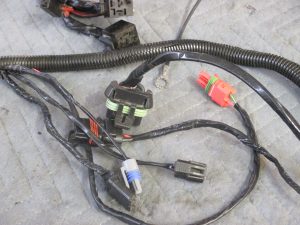
Engine harness after
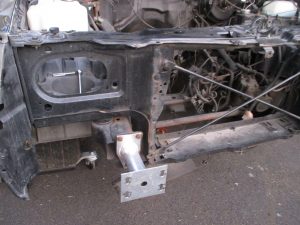
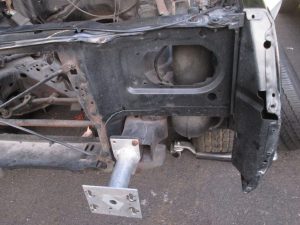
This area is where the passenger’s side fender mounts. The mount point on the body is rusted away and will have to be reconstructed.
Radio wiring will have to be redone, But that is something we always plan for
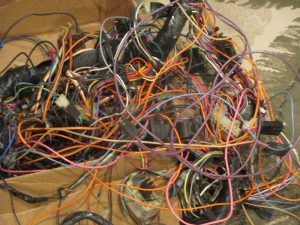
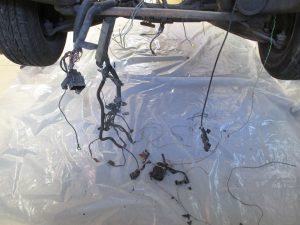
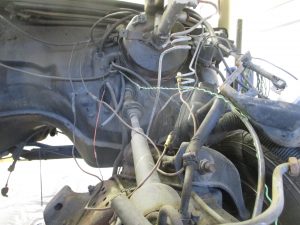
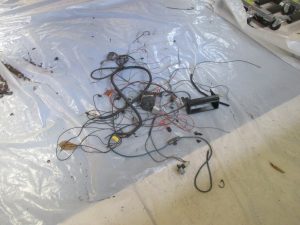
These are just some of the wires we have removed that don’t belong
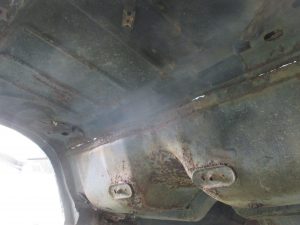
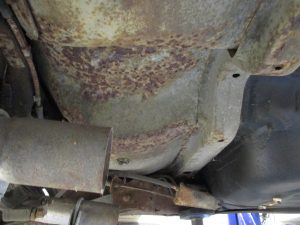
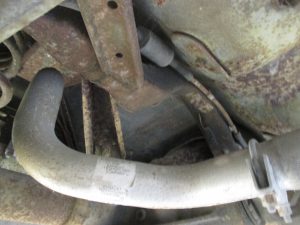
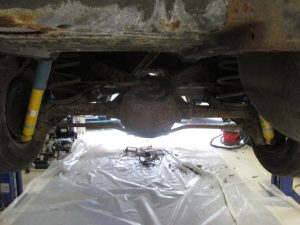
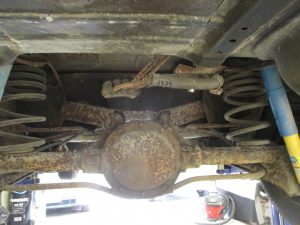
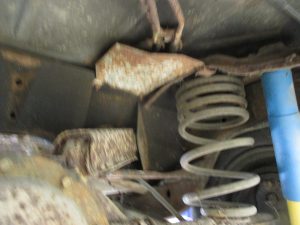
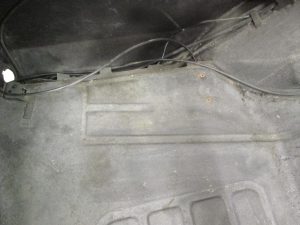
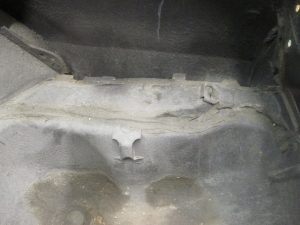
A fair amount of rust but so far no holes in the floor. We will know better once we strip the belly.
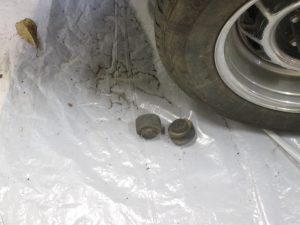
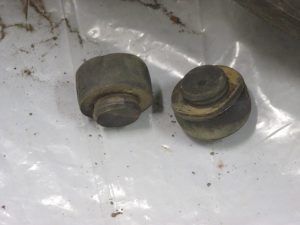
Body bushings: I have come across many rusty bolts before but I have not come across no bolts before. It appears that someone in the past tried to remove the body bushing and snapped off several of the bolts. Rather than access the nuts, which is a lot of work they simply placed several of the number 5 bushings, which are also know as the “GNX” bushing. These bushings are meant to rest in the frame and are held in place by the weight of the car. They are not designed to be bolted. So the anywhere there was a number 5 bushing the car was not bolted to the frame. In fact the car had only 3 of the 10 bolts holding the body to the frame. Both number 2 and a number 7 were bolted to the car. The floor will have to be cut out in 6 spots to access the nuts.
Thew front or number 2 bushing are flat but bolted in.
These sections of the floor have to be cut out to access the bushing nut. 2 more sections of the floor will have to be removed in the cabin area of the car as well. Its a lot of work and I guess the last person did not want to do it.
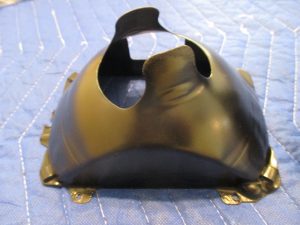
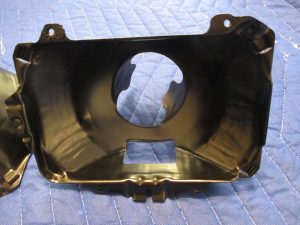
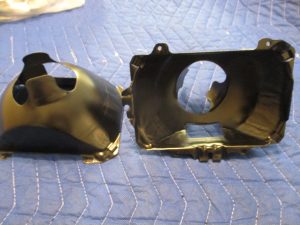
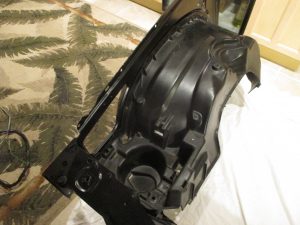
The little things no one can see. The headlight buckets are powder coated back to the original color and will now never rust.
Nice powder coated headlight buckets
The only way to insure a great long lasting paint job is to strip every thing by hand to bare metal.
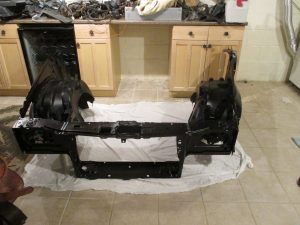
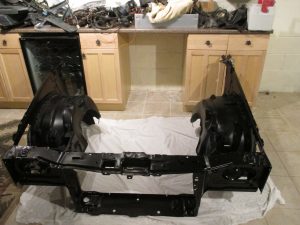
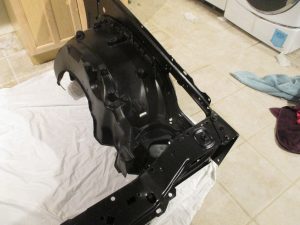
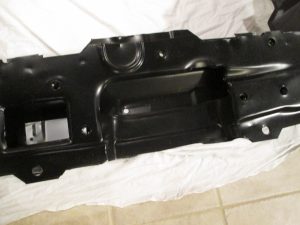
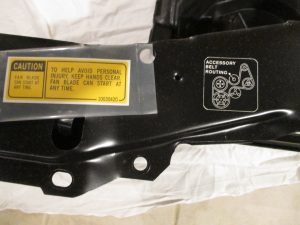
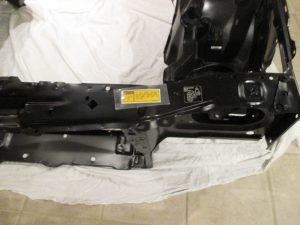
The Radiator support and inner fenders were just picked up from the powder coater. This insures that all the parts match and never rust. The wheel wells have also been restored to “like new” condition.
One installed the correct reproduction stickers will be applied.
This is the trunk jam its appears that the original paint had pealed and it was painted a flat color right over the pealing paint. This area will be stripped to metal and painted the same as the body color.
Paint has already begun to peal. So every part will be stripped and repainted
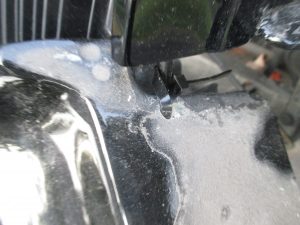
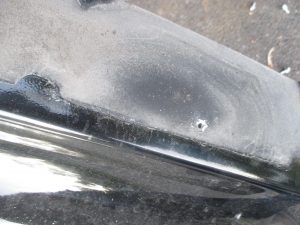
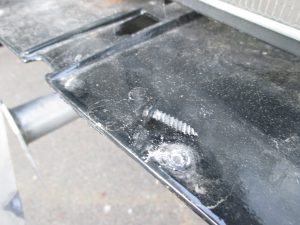
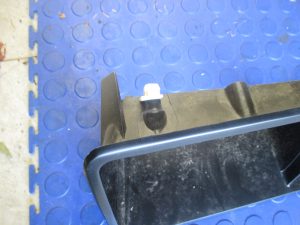
Best guess is that someone did not know how to install the front bumper fillers and used zip ties and drilled hole in the face to secure them. We will new replacement fillers made of the correct OEM material
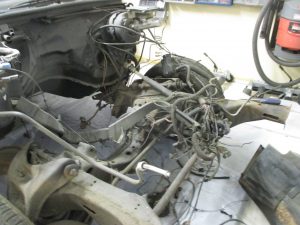
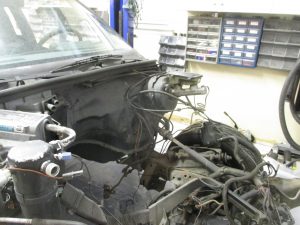
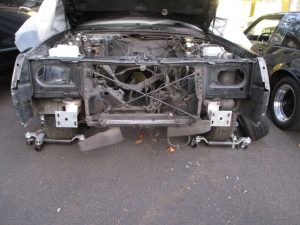
The radiator support and inner fenders are still in original condition. They look drab.
At some point the Grand National header panel was replaced with a regal header. You can see where the hole for the regal emblem was filled.
Quite a bit of primer over spray. No worries as the entire underside of the car will be painted as part of the complete restoration.

